May
21
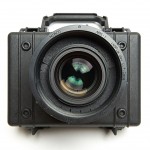
2013DIY sound blimp assembly
Got almost all the way on the sound blimp project today; only the front window is left to finish! The Lexan turned out to be surprisingly clear, so I’m going to try using that for the front as well. I shot through it a few times and couldn’t tell the difference between that and without in the resulting photos, so it seems promising. It’ll certainly be a lot easier to cut it into a circle with my Dremel than actual glass! More rugged too.
-
- Using a 1:1 paper printout to get accurate measurements in 2D
-
- Fitting the wireless transmitter
-
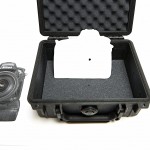
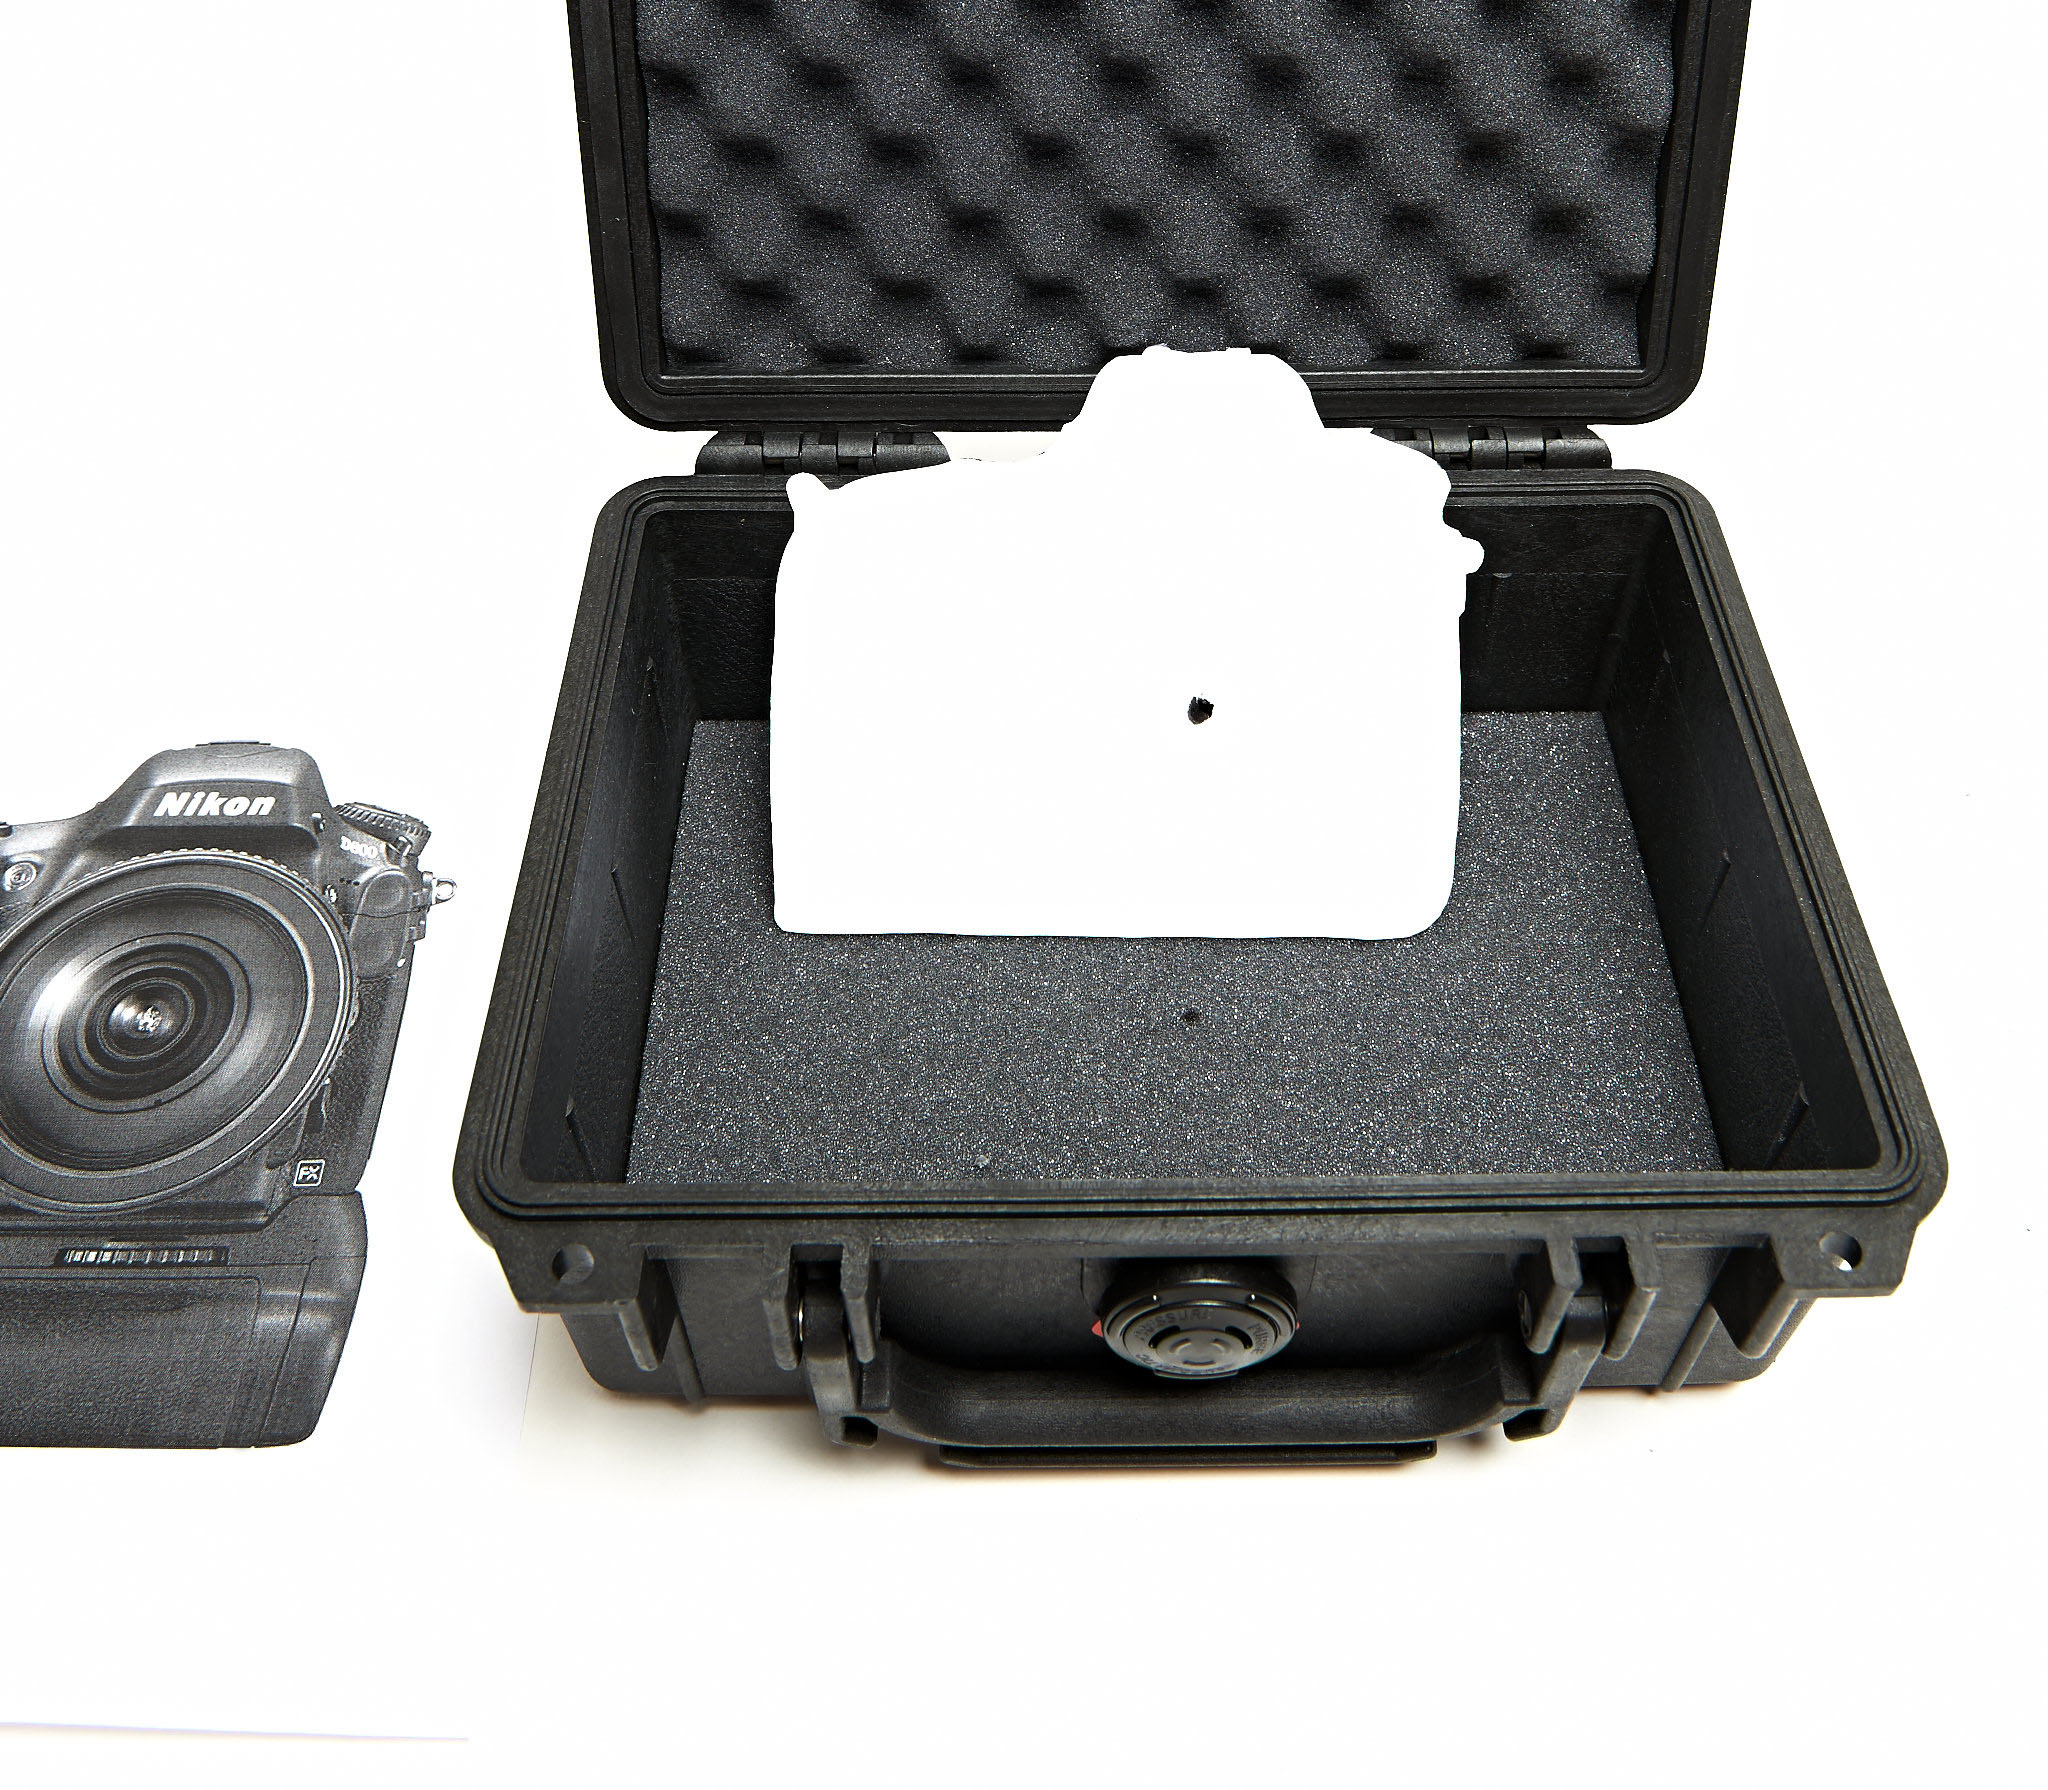
- Figuring out where the center of the lens tube will be
-
- Making marks for the lens tube housing
-
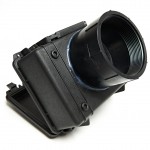
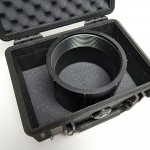
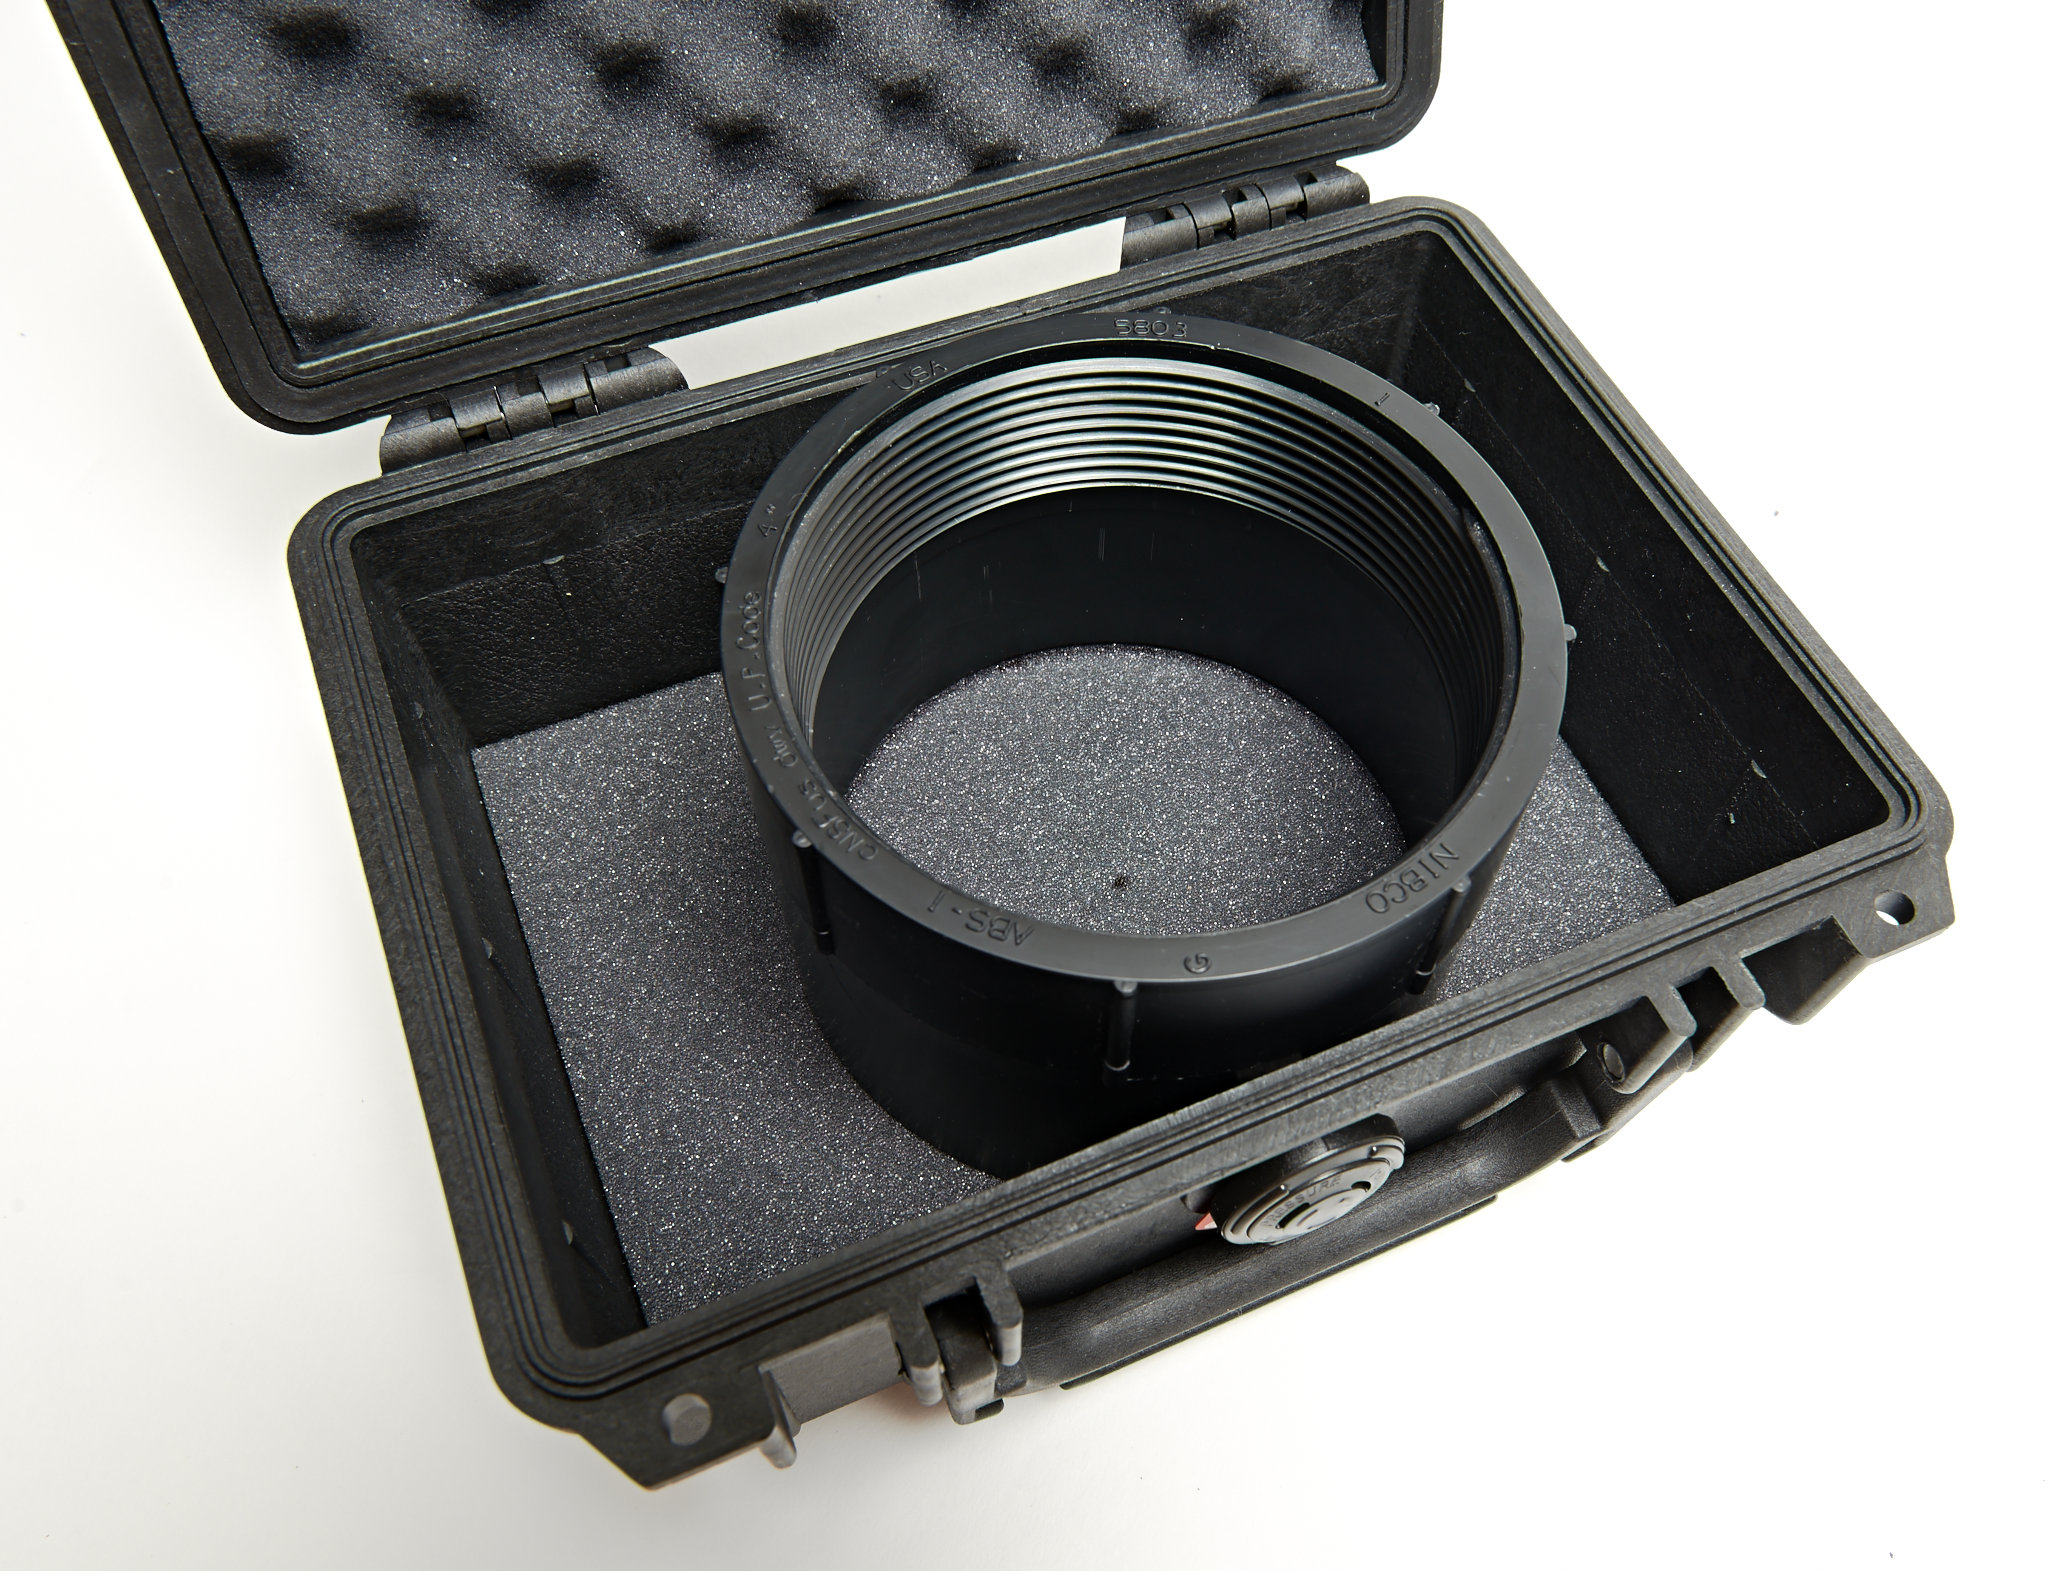
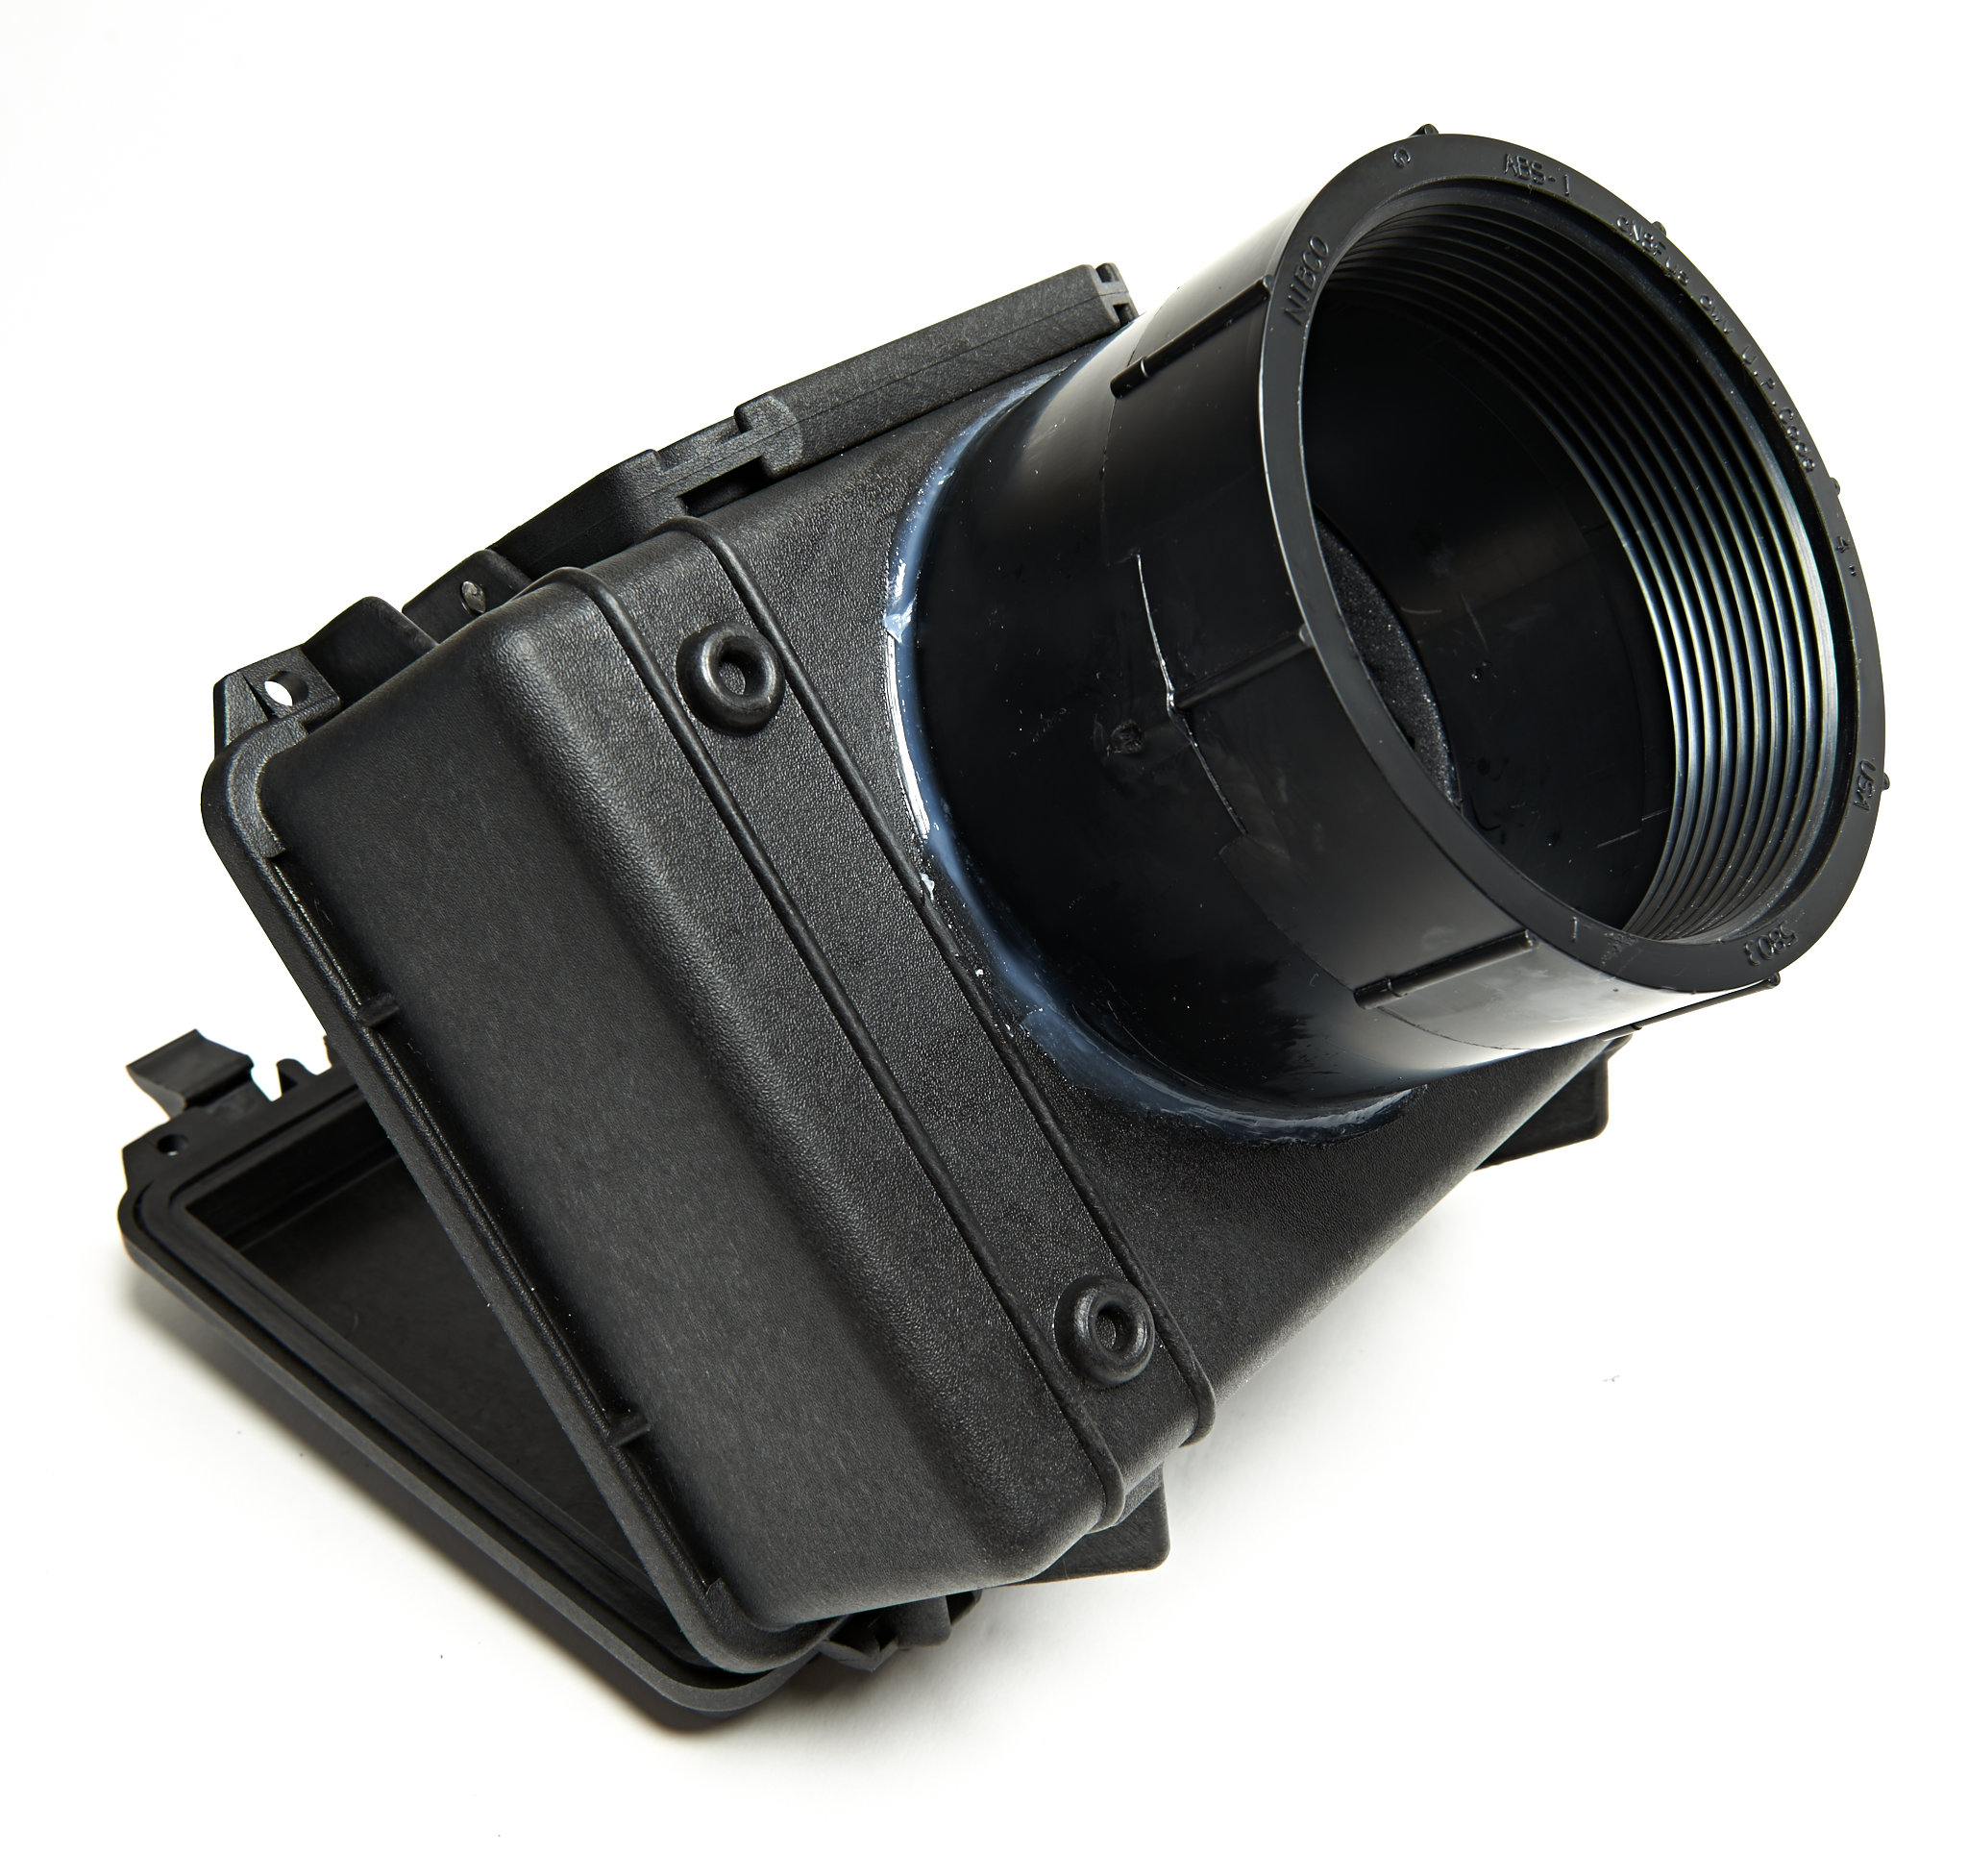
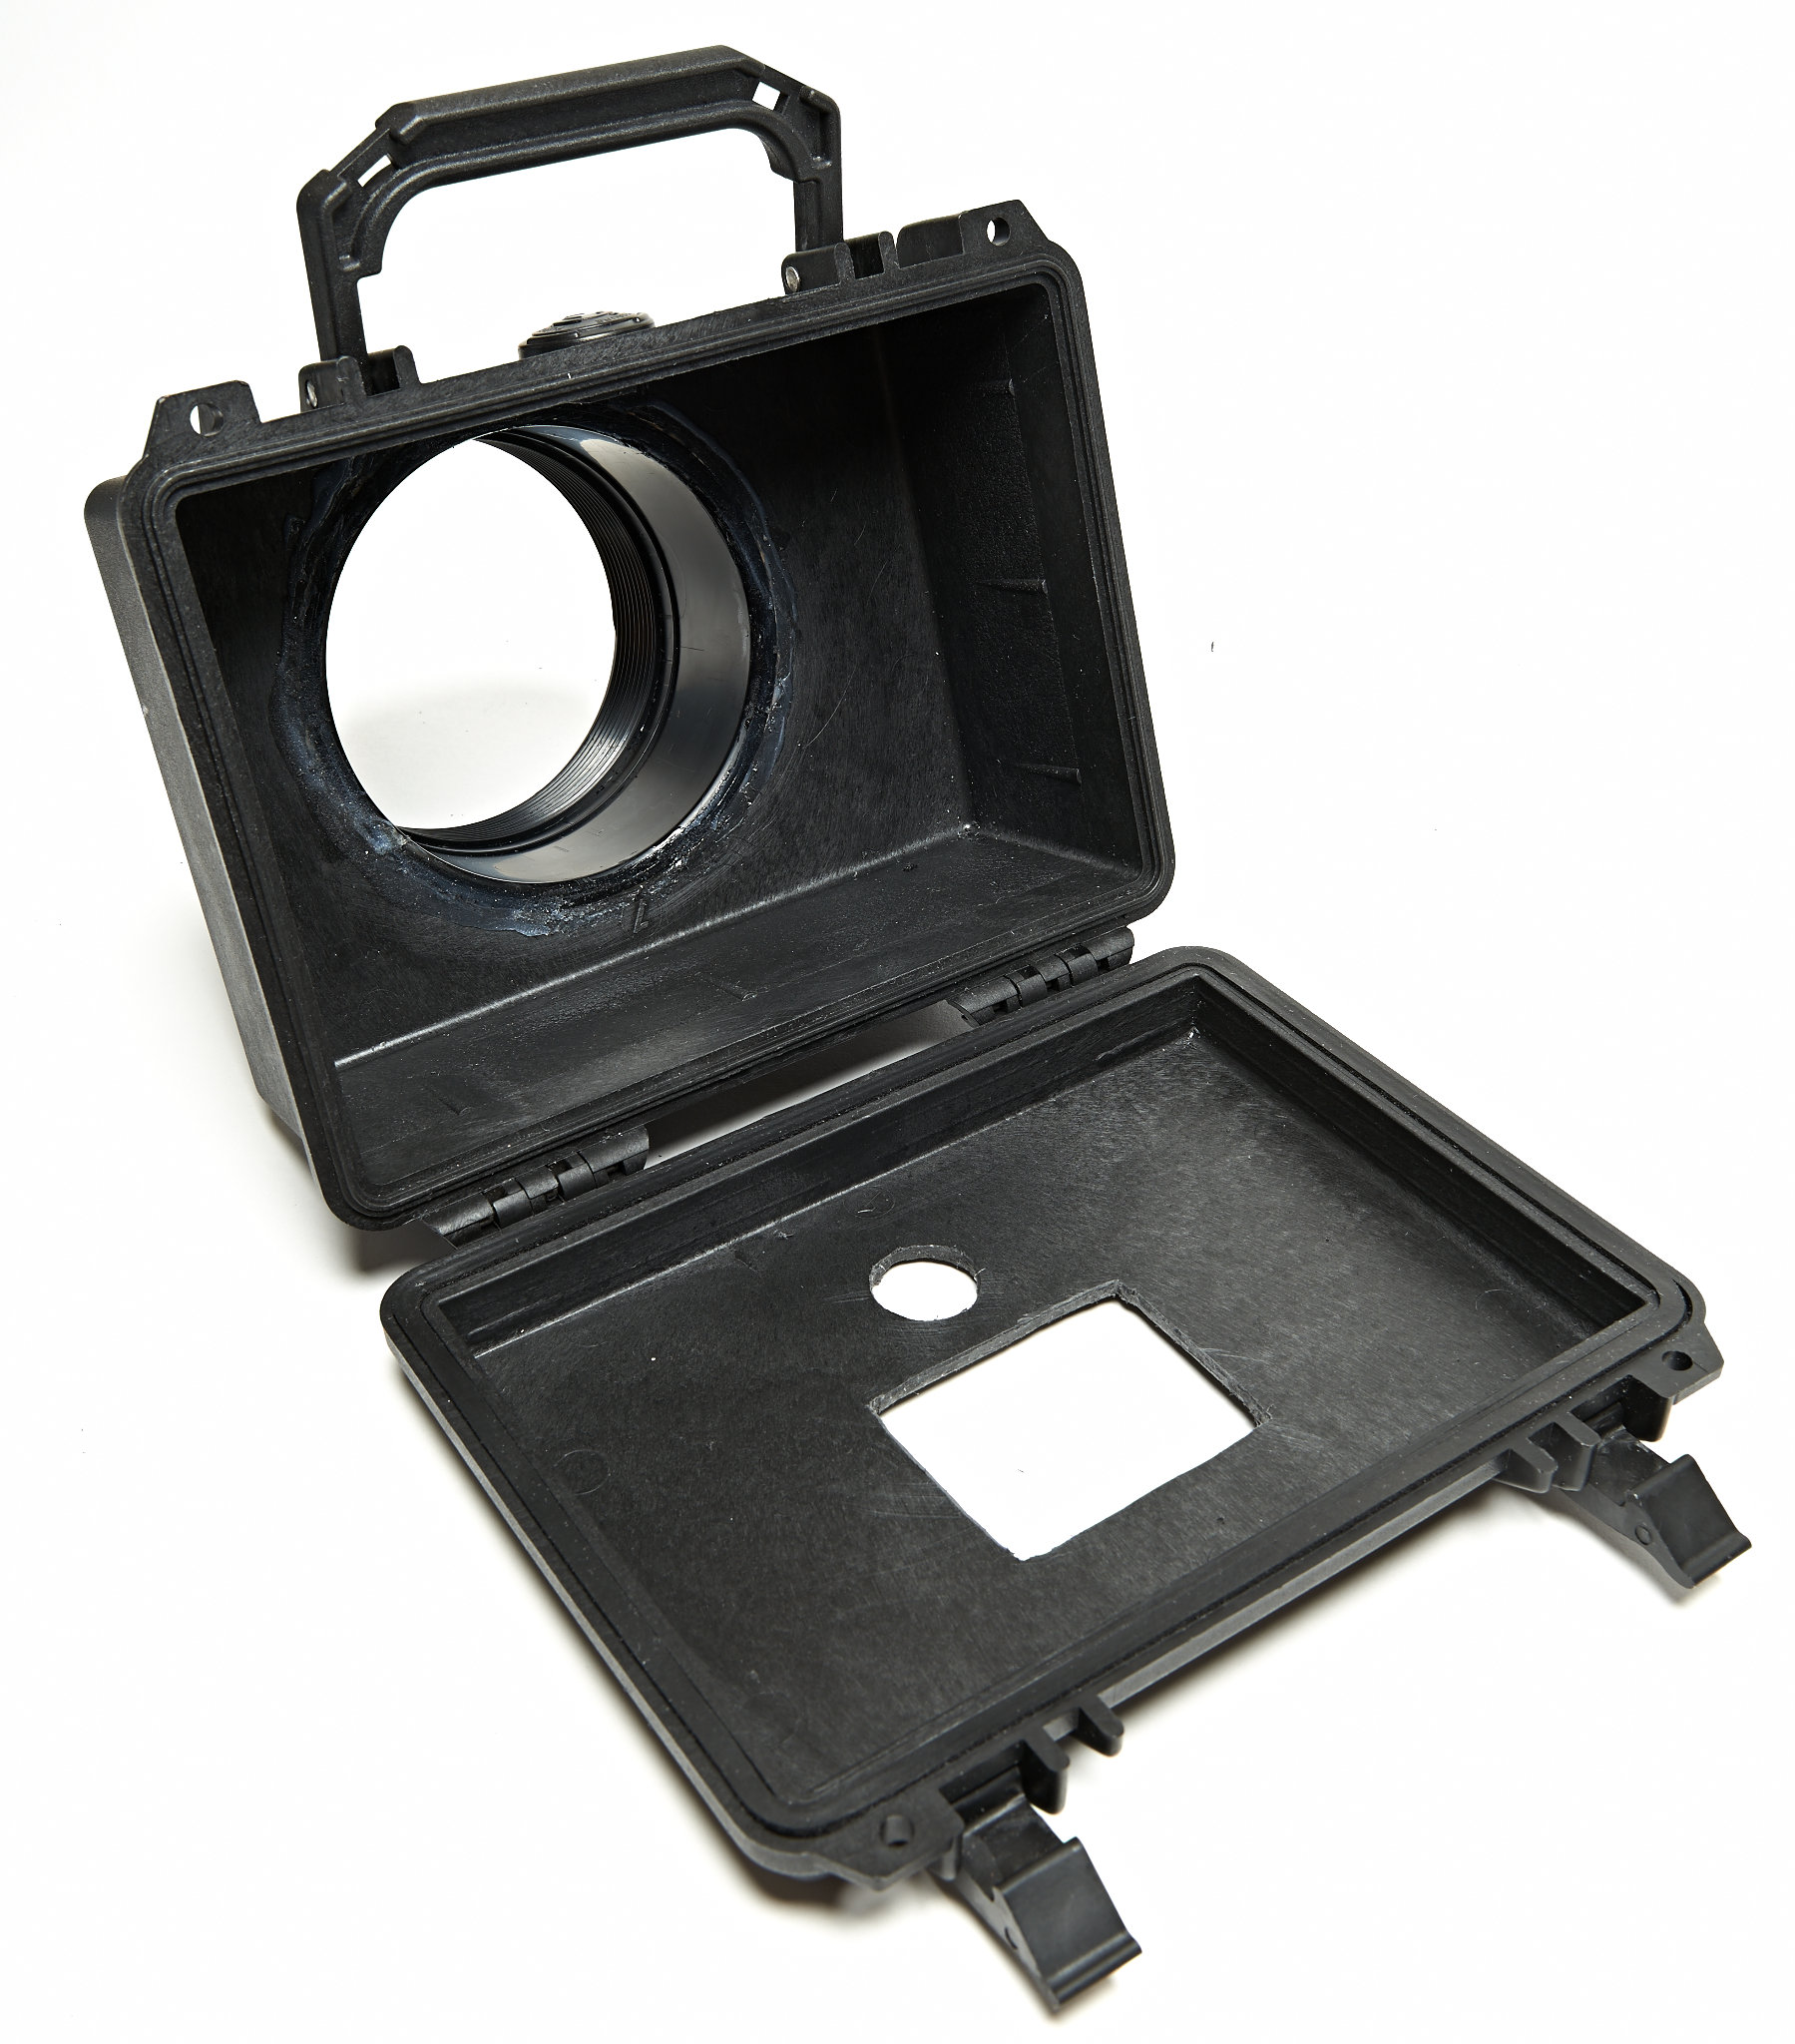
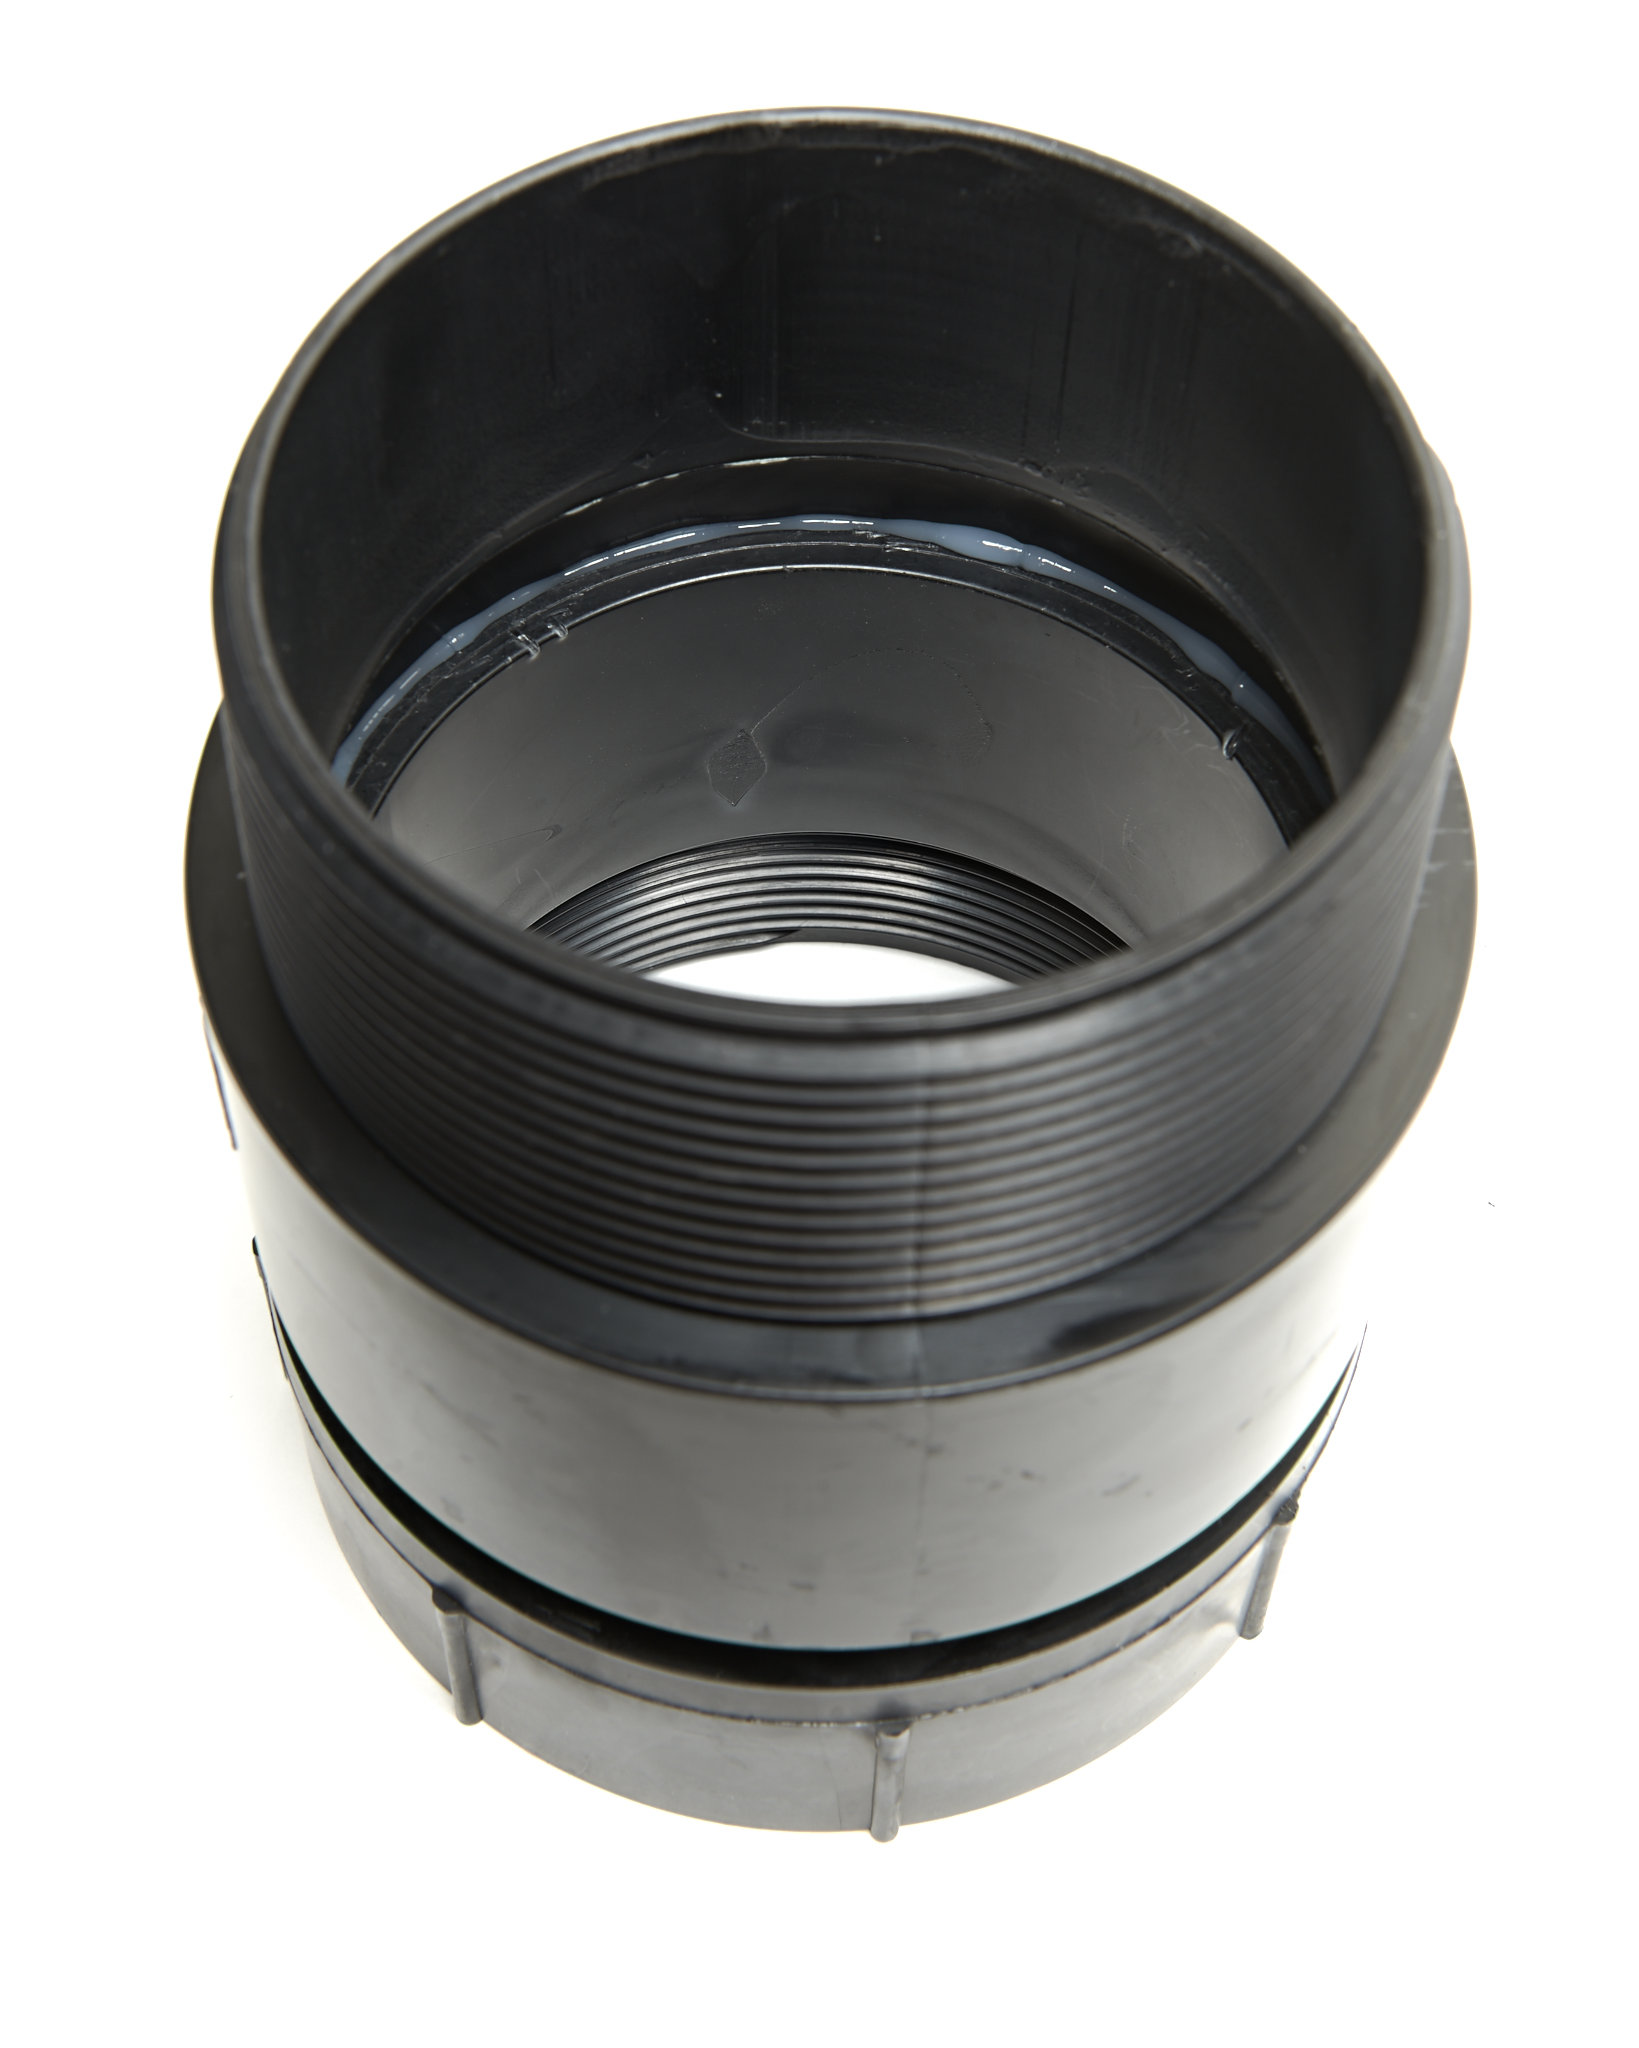
- Lens tube housing fitted and fixed, first with epoxy and then sealed with silicone
-
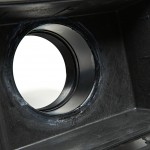
- View from inside; the silicone should provide a fully waterproof seal

-
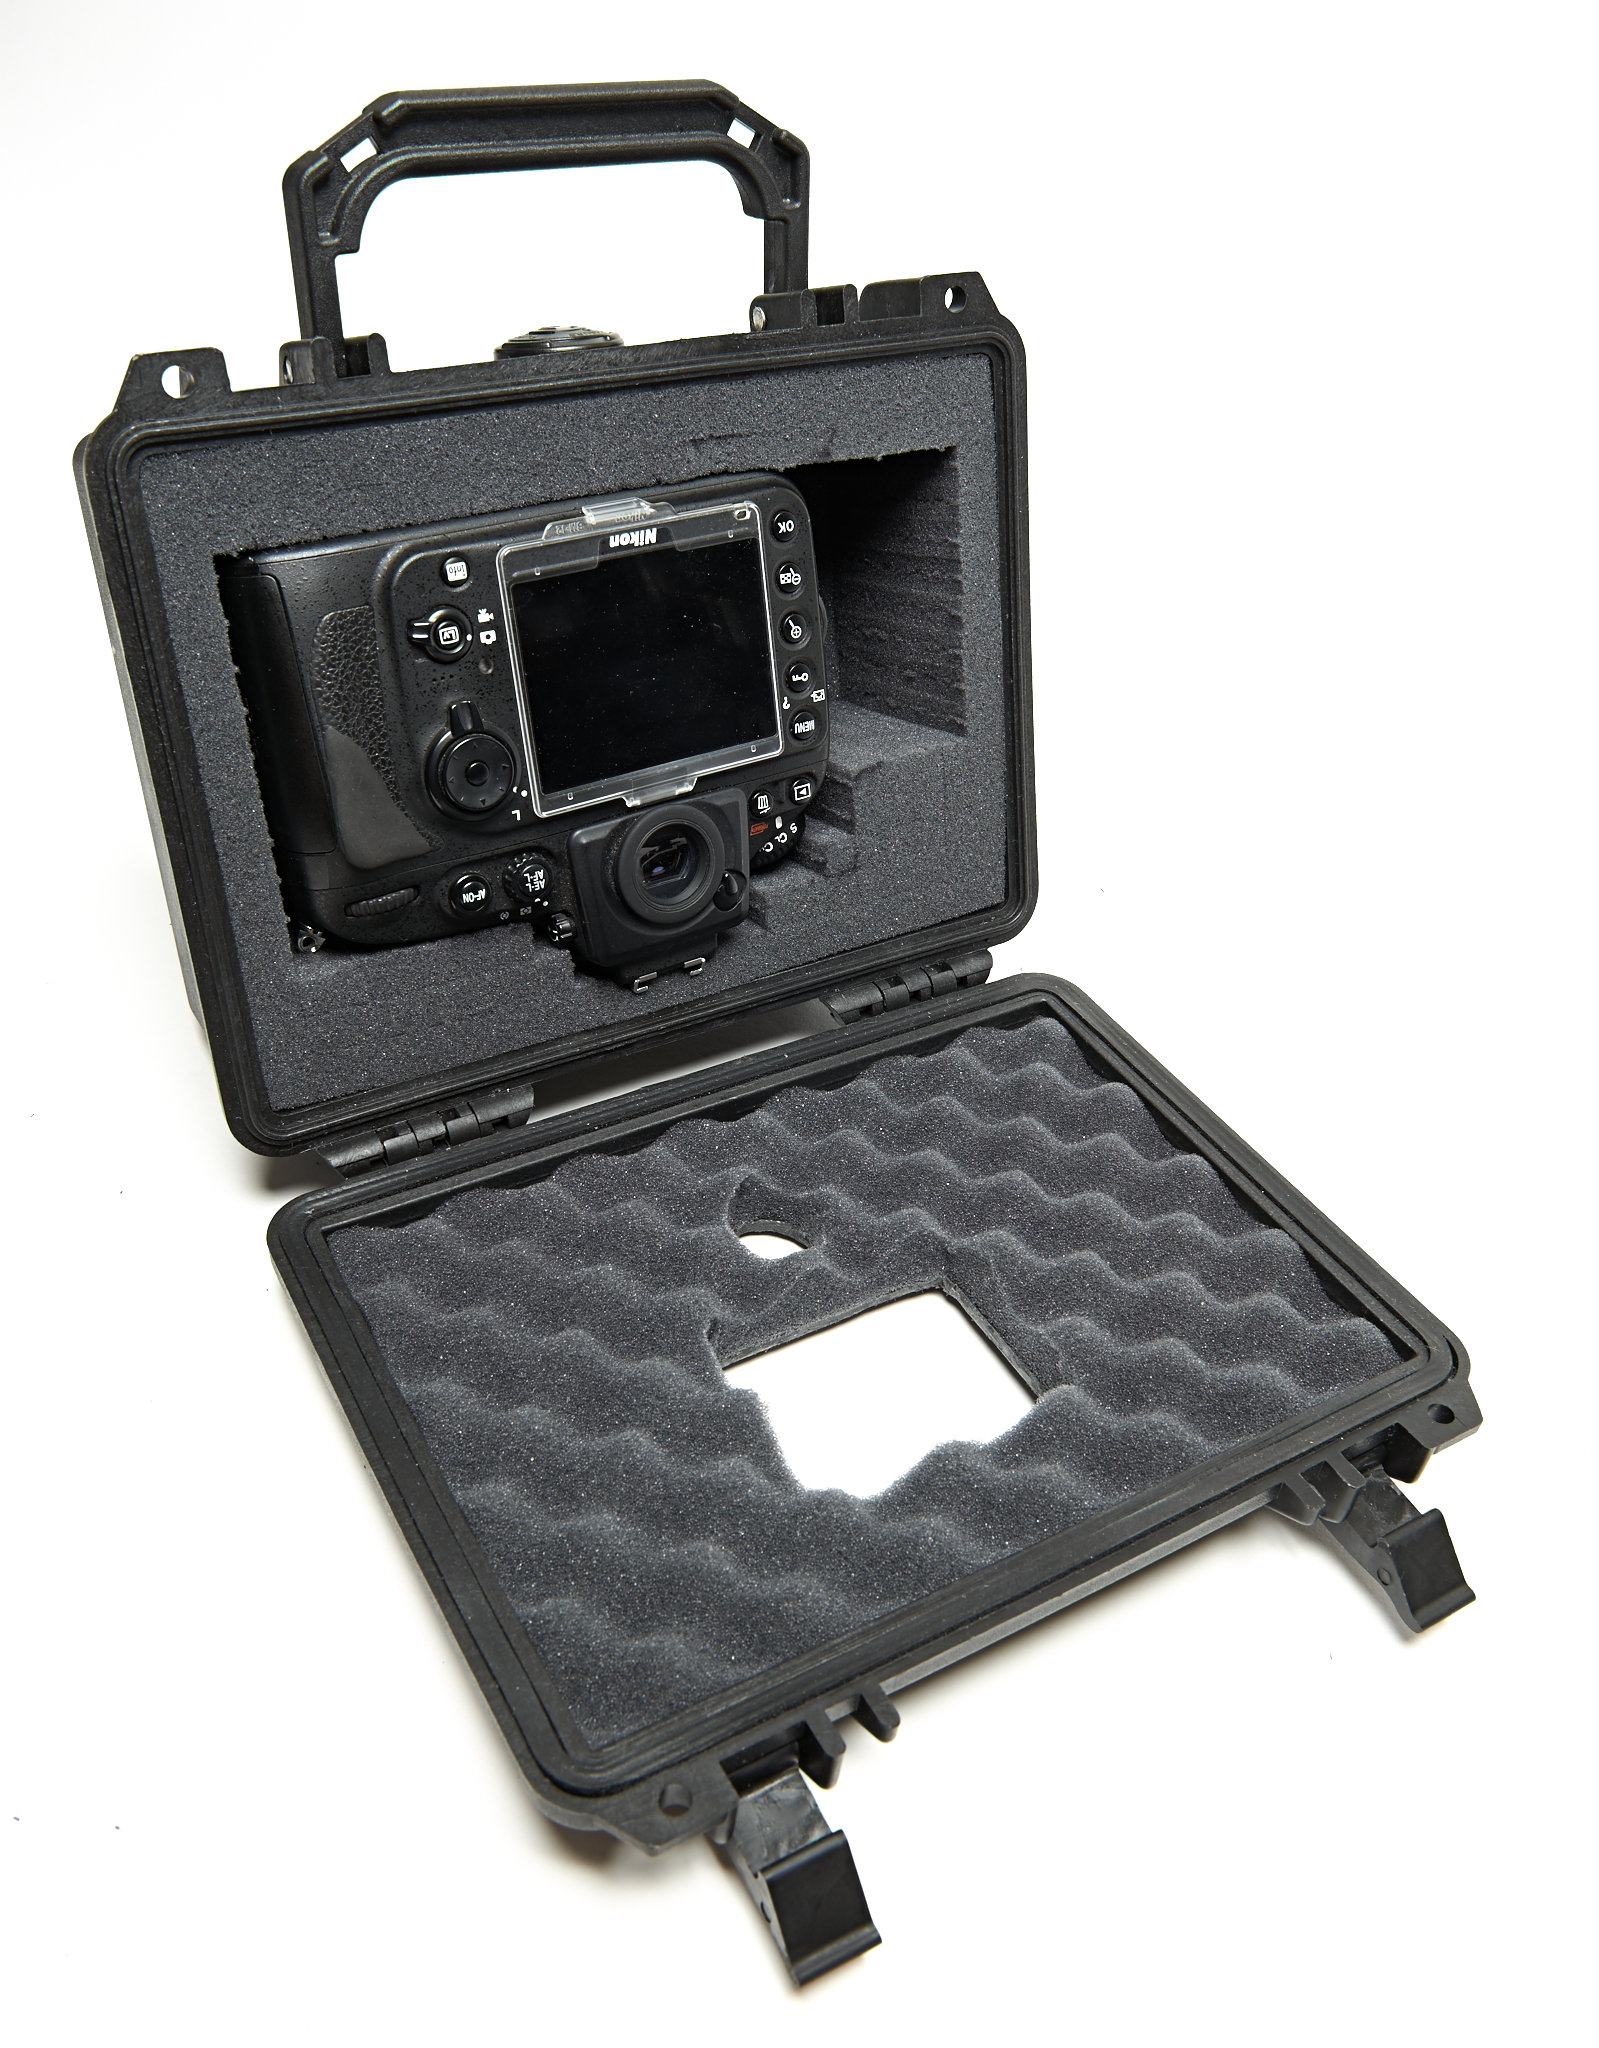
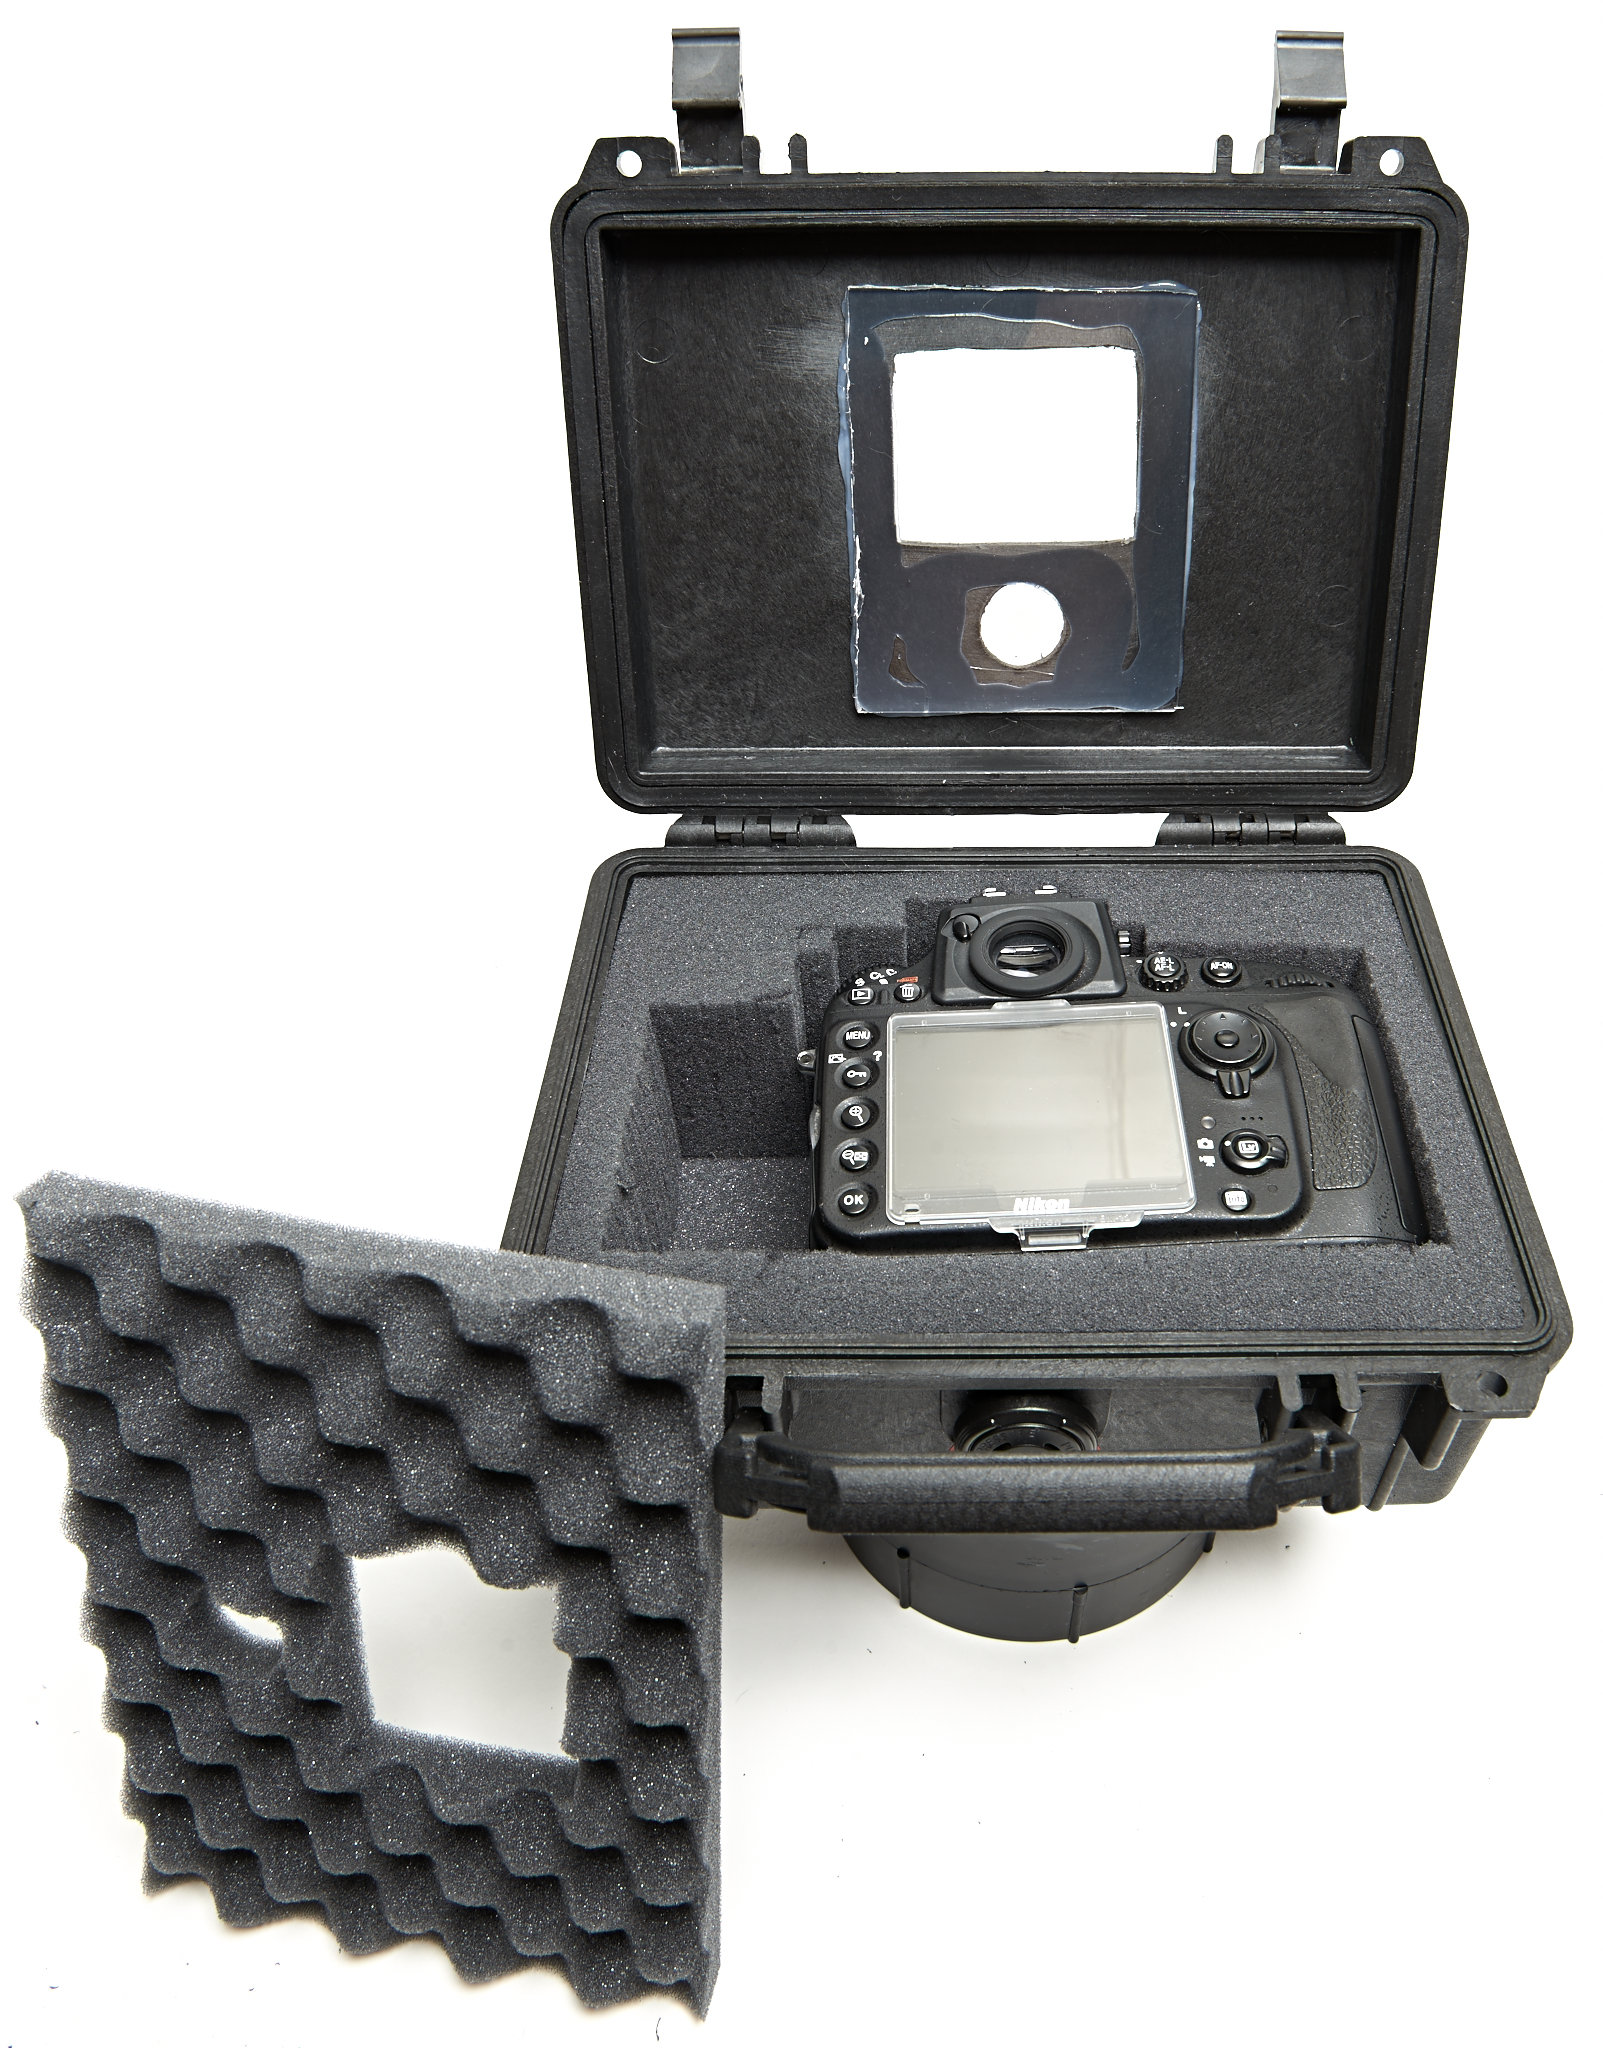
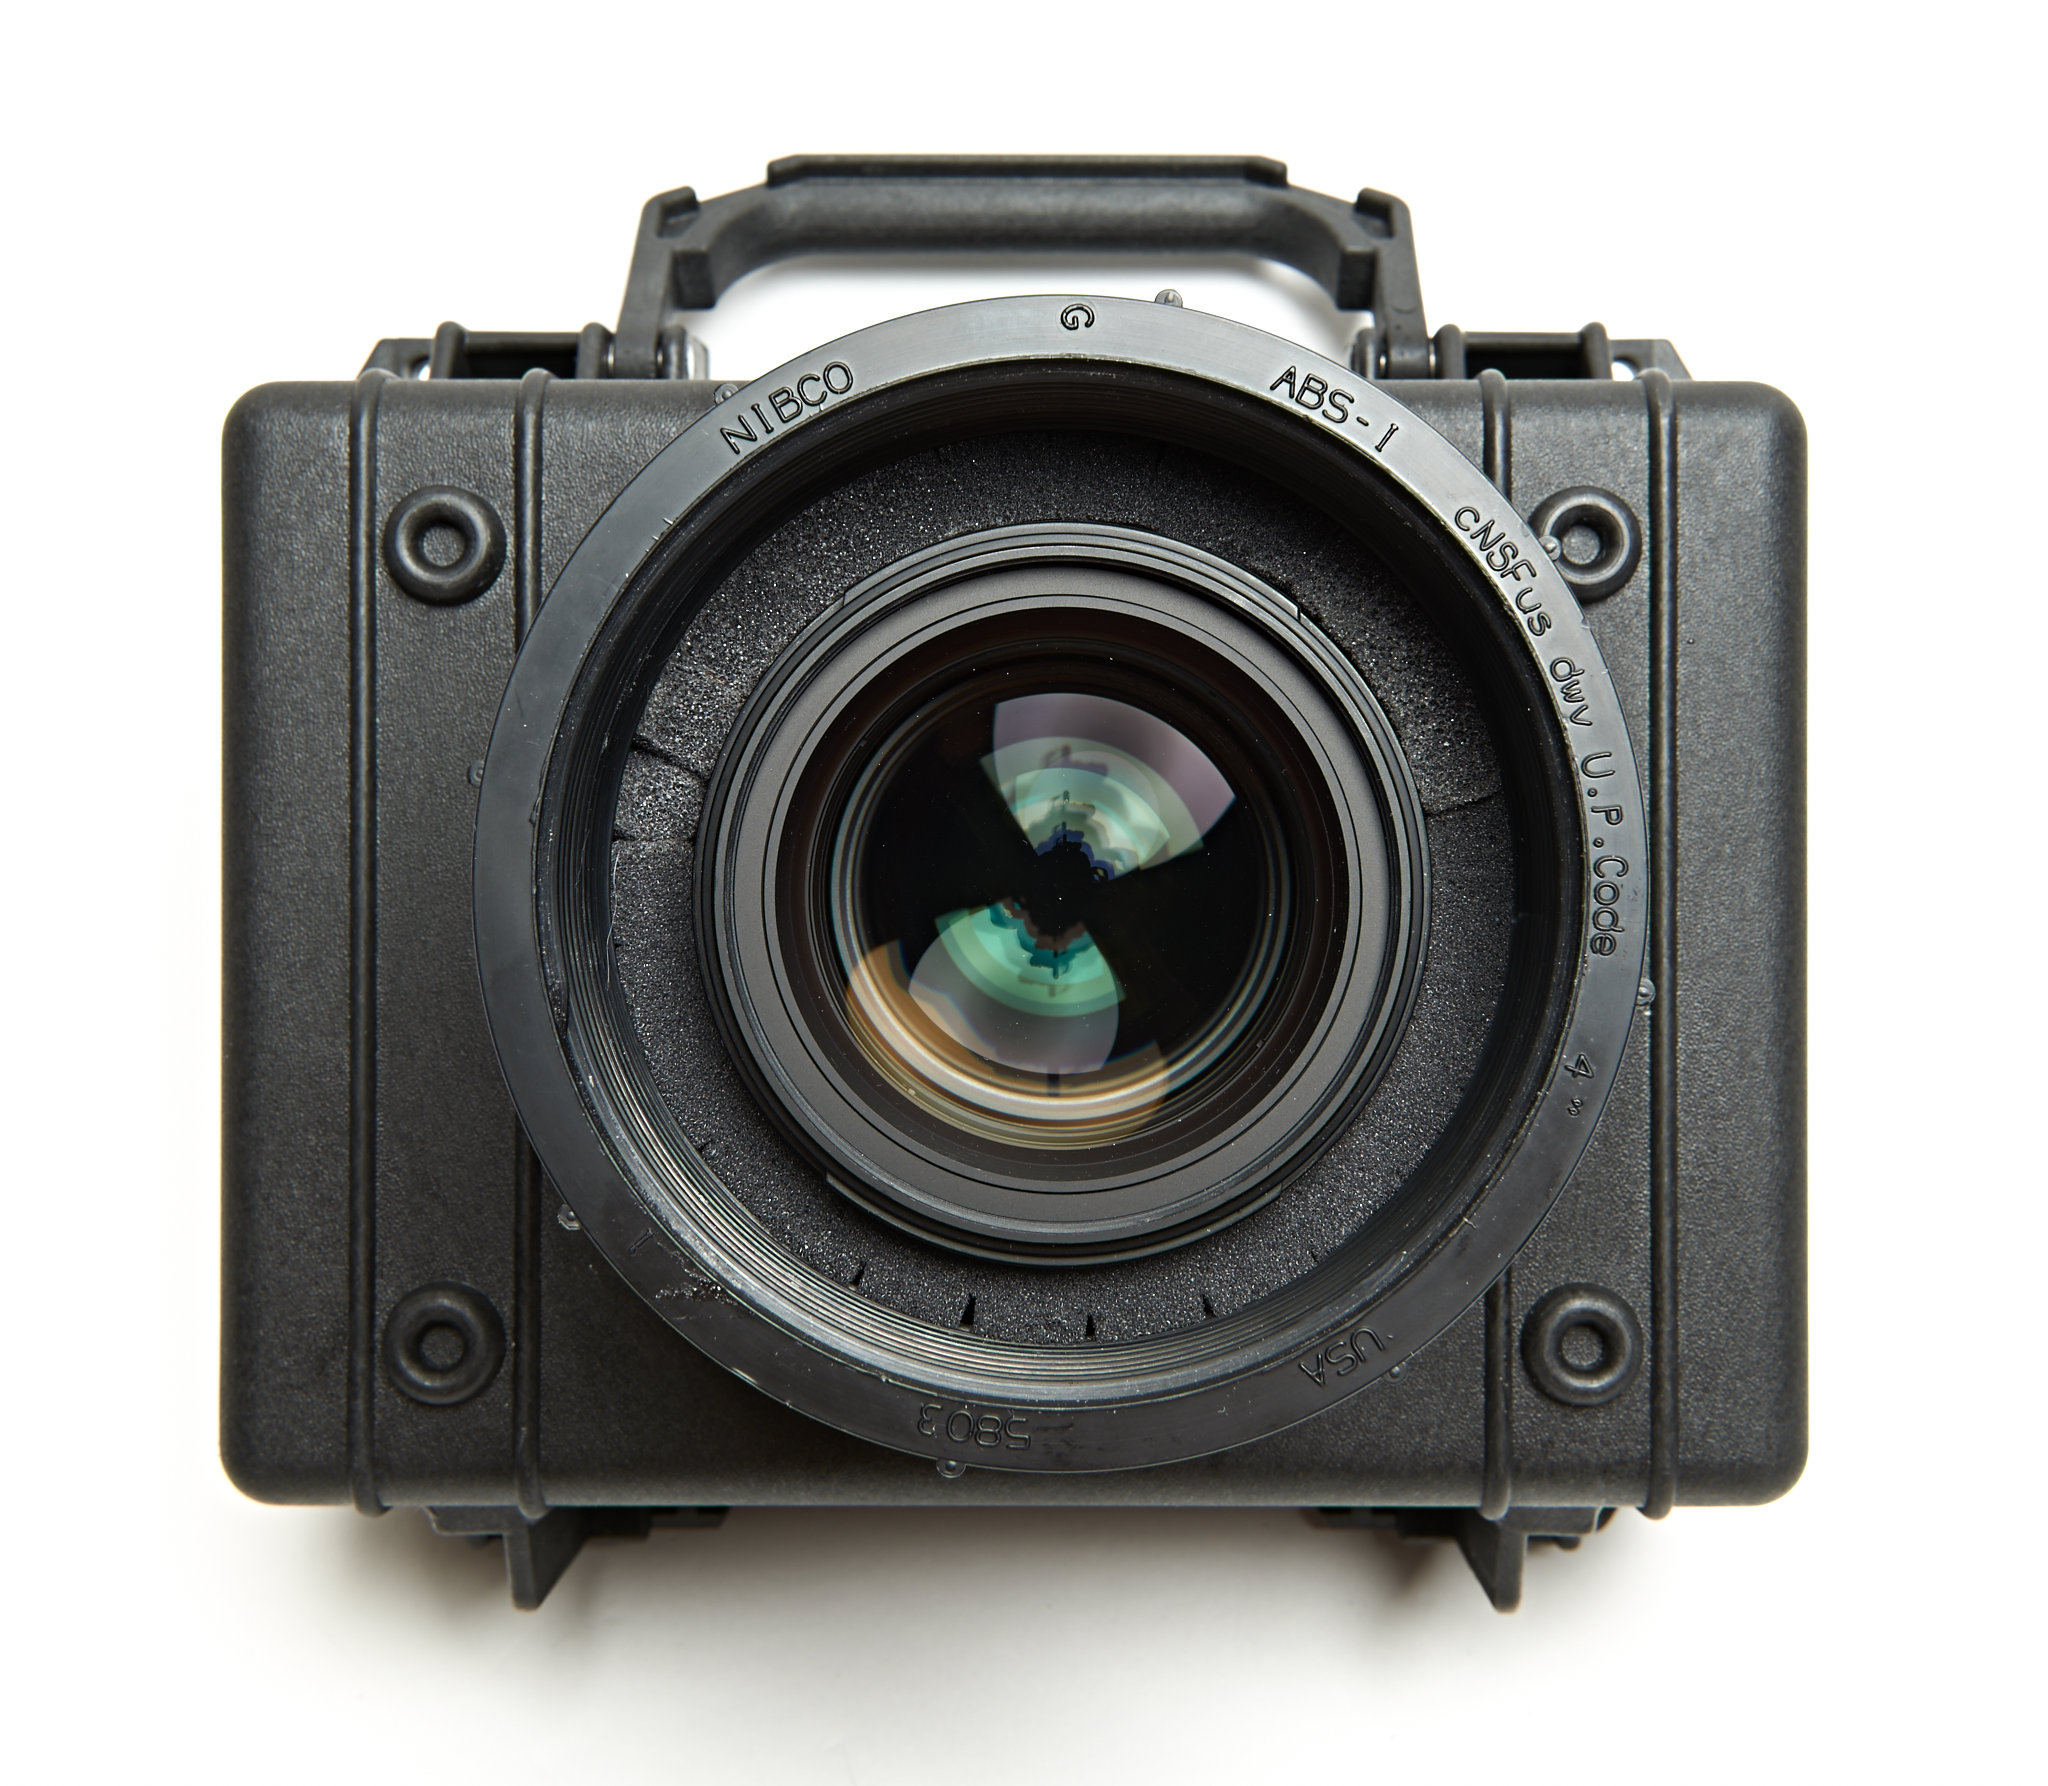
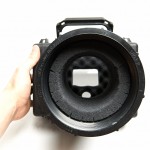
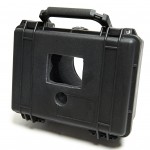
- Figuring out where the viewfinder and LCD holes should go on the lid
-
- Those holes now made with some righteous Dremel-ing
-
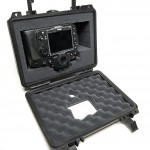
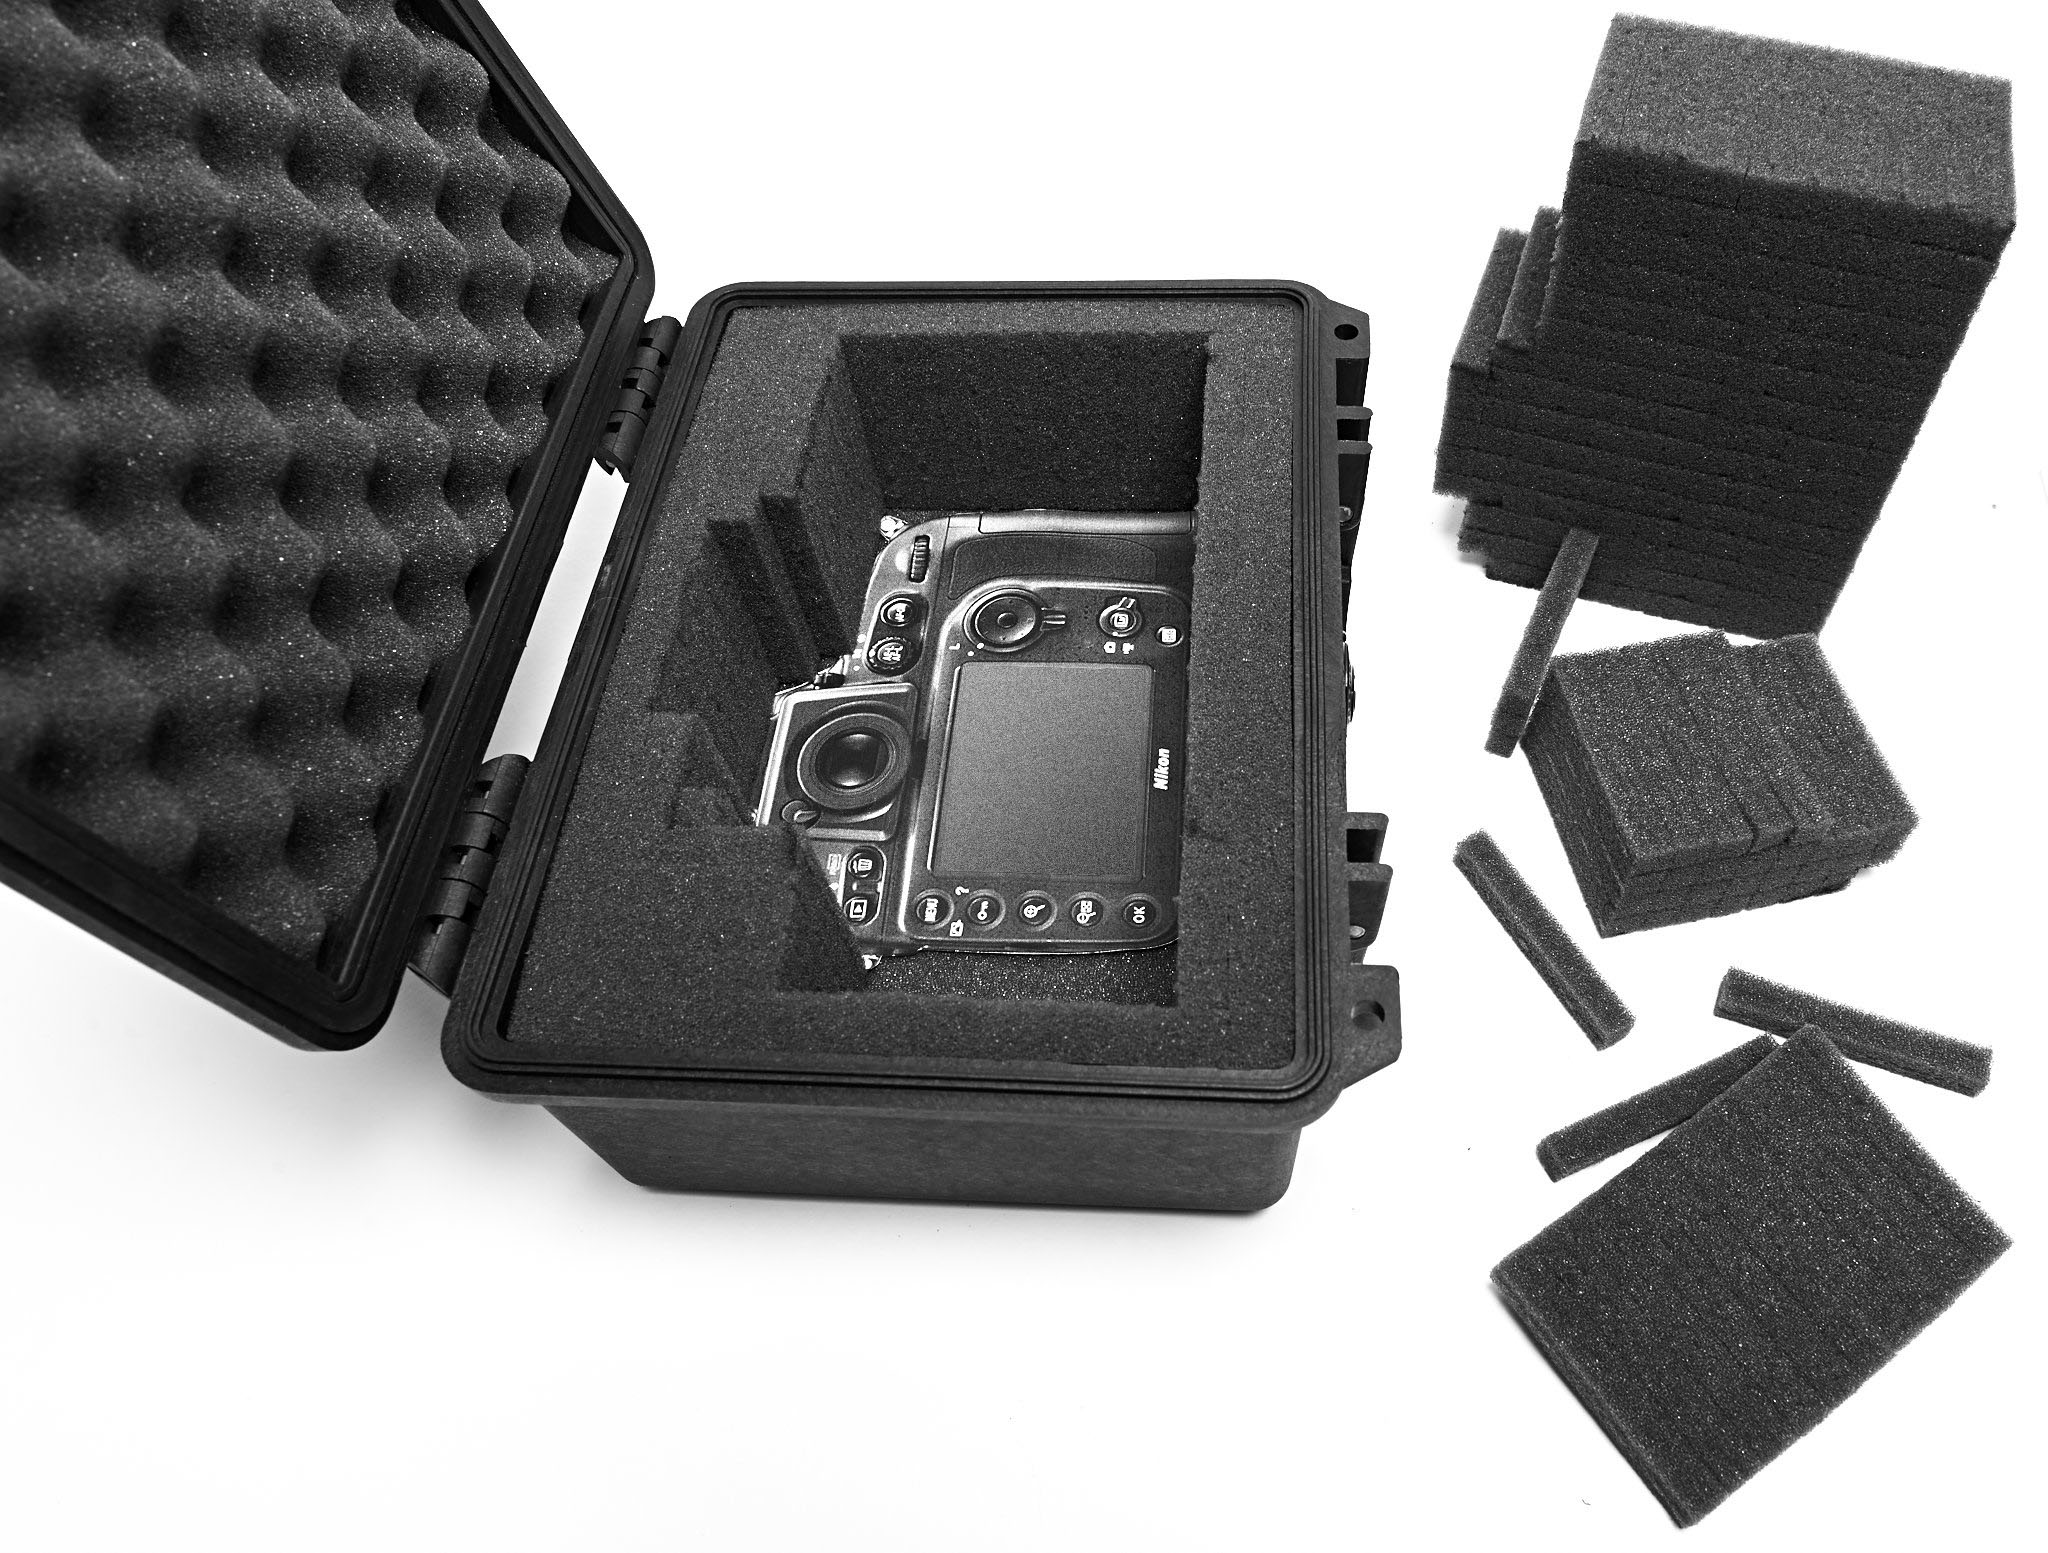
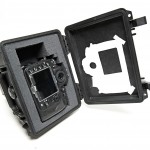
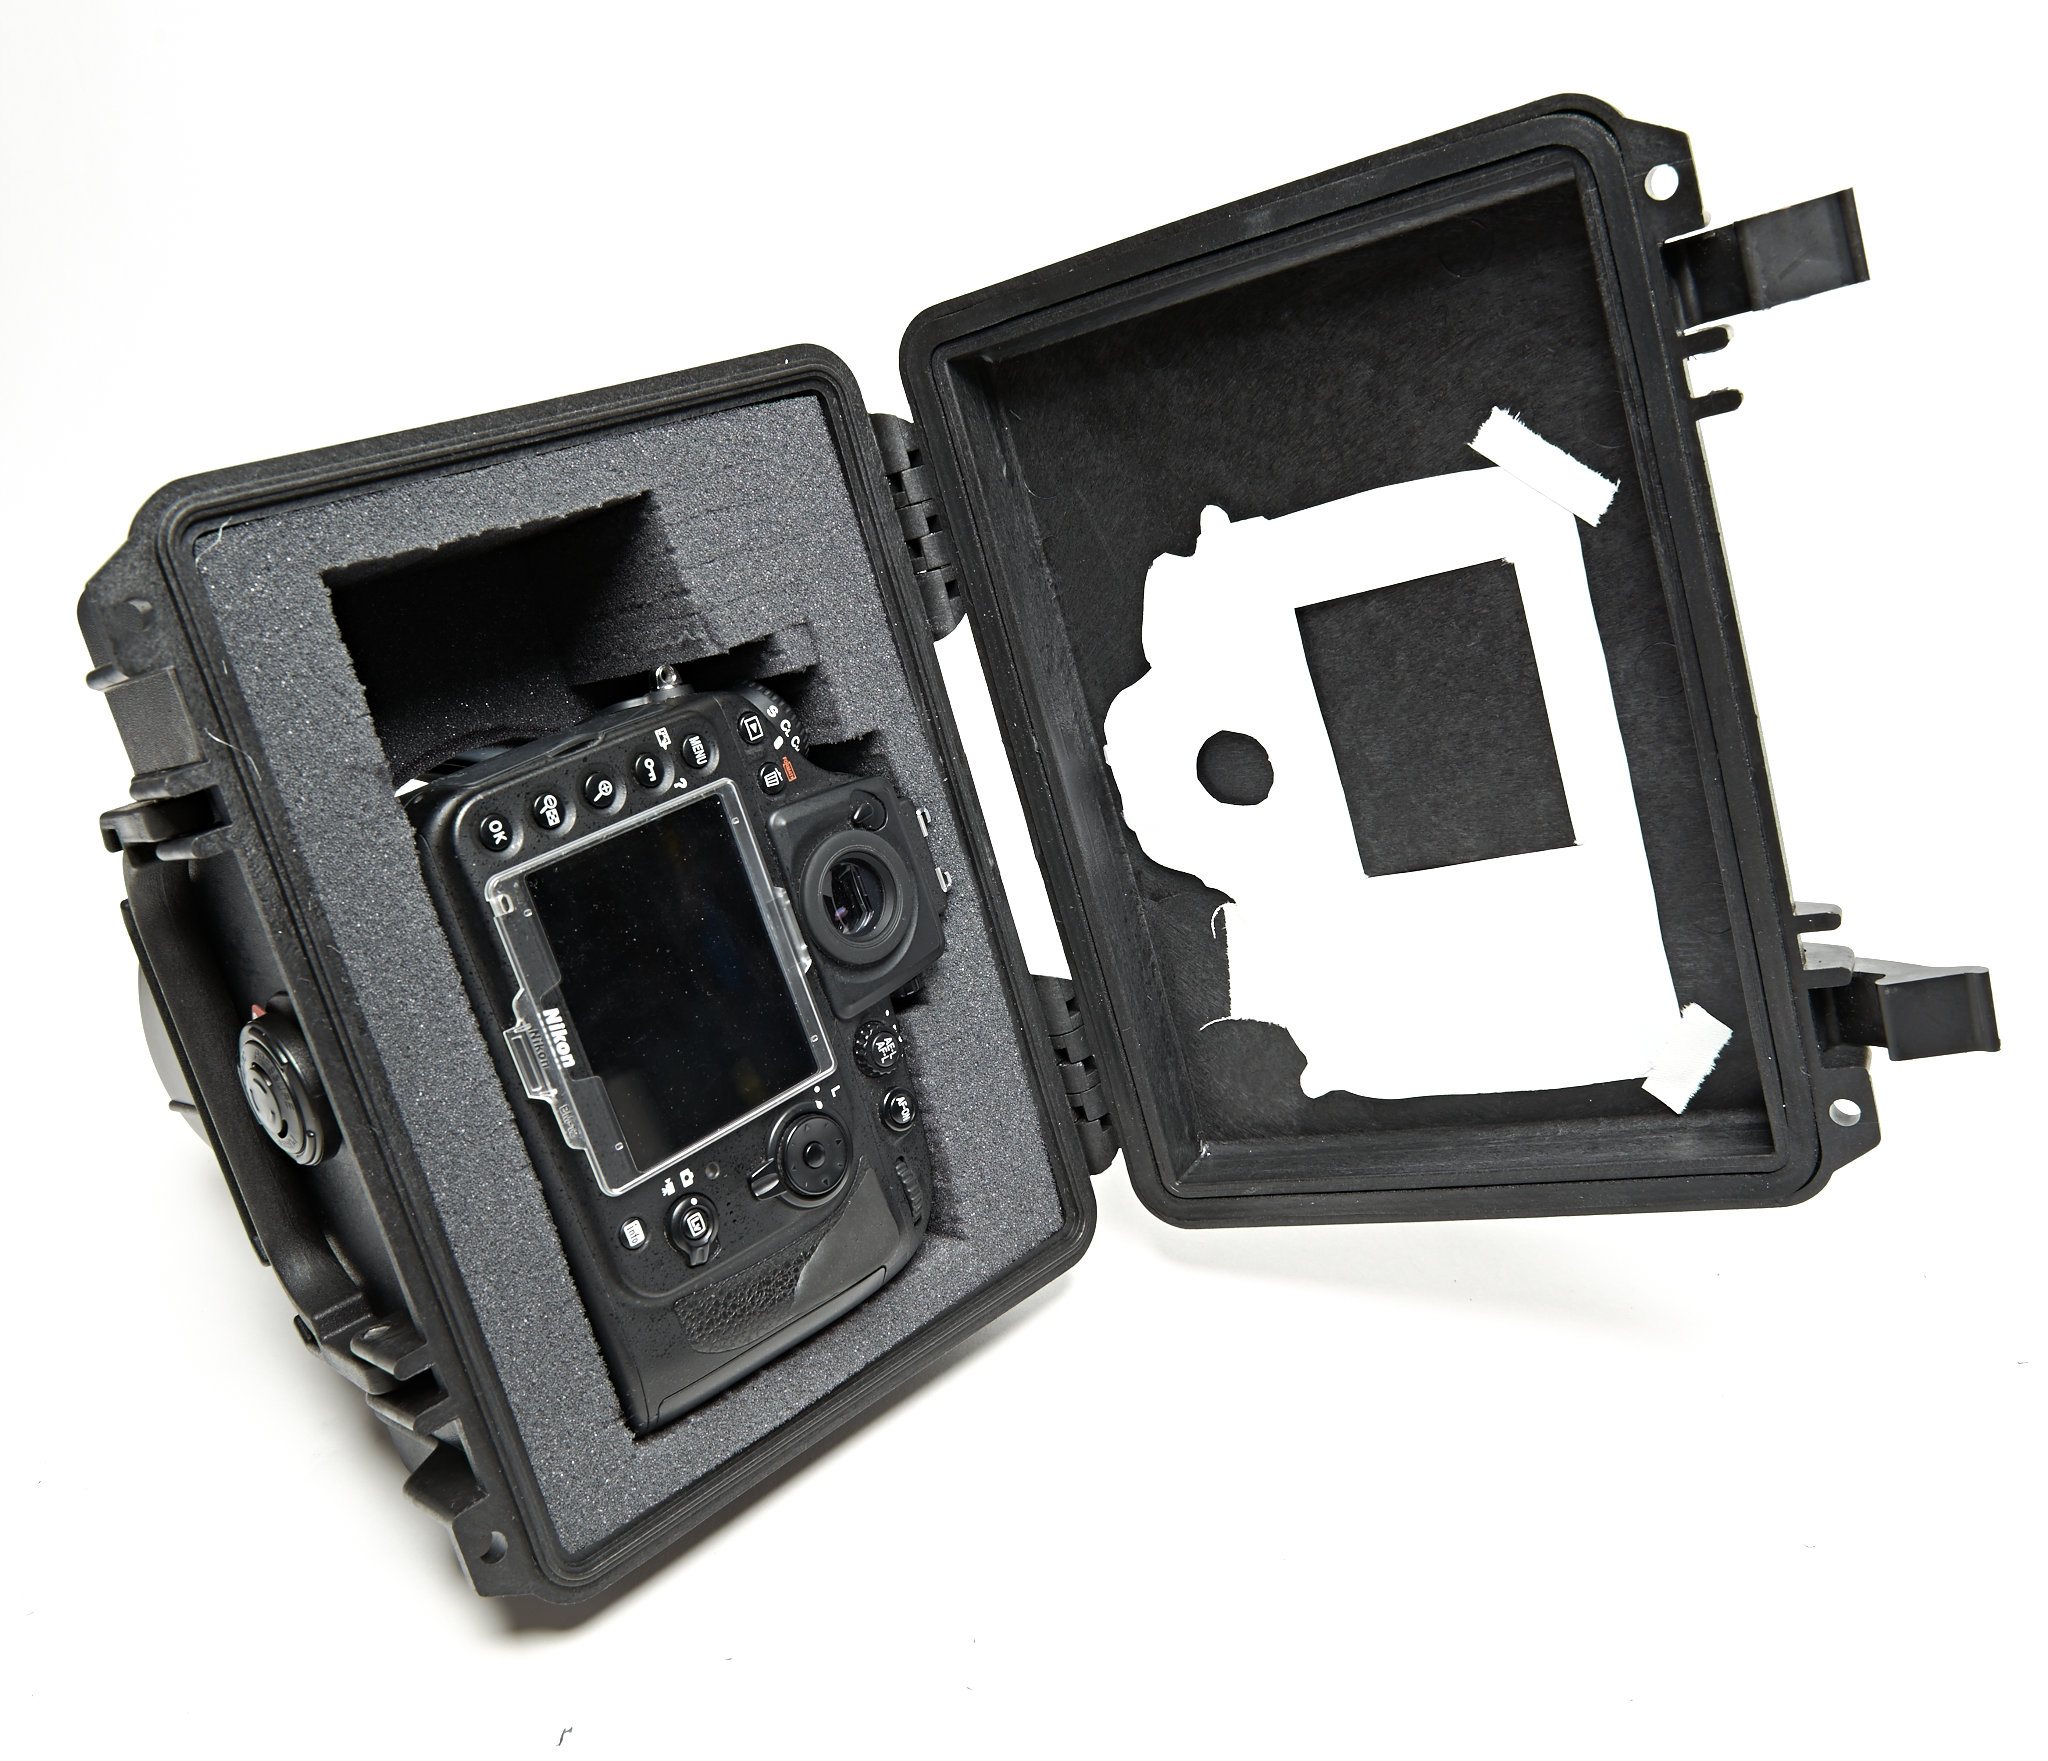
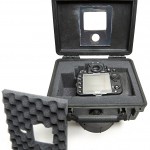
- The foam now perforated and in place; camera fits great
-
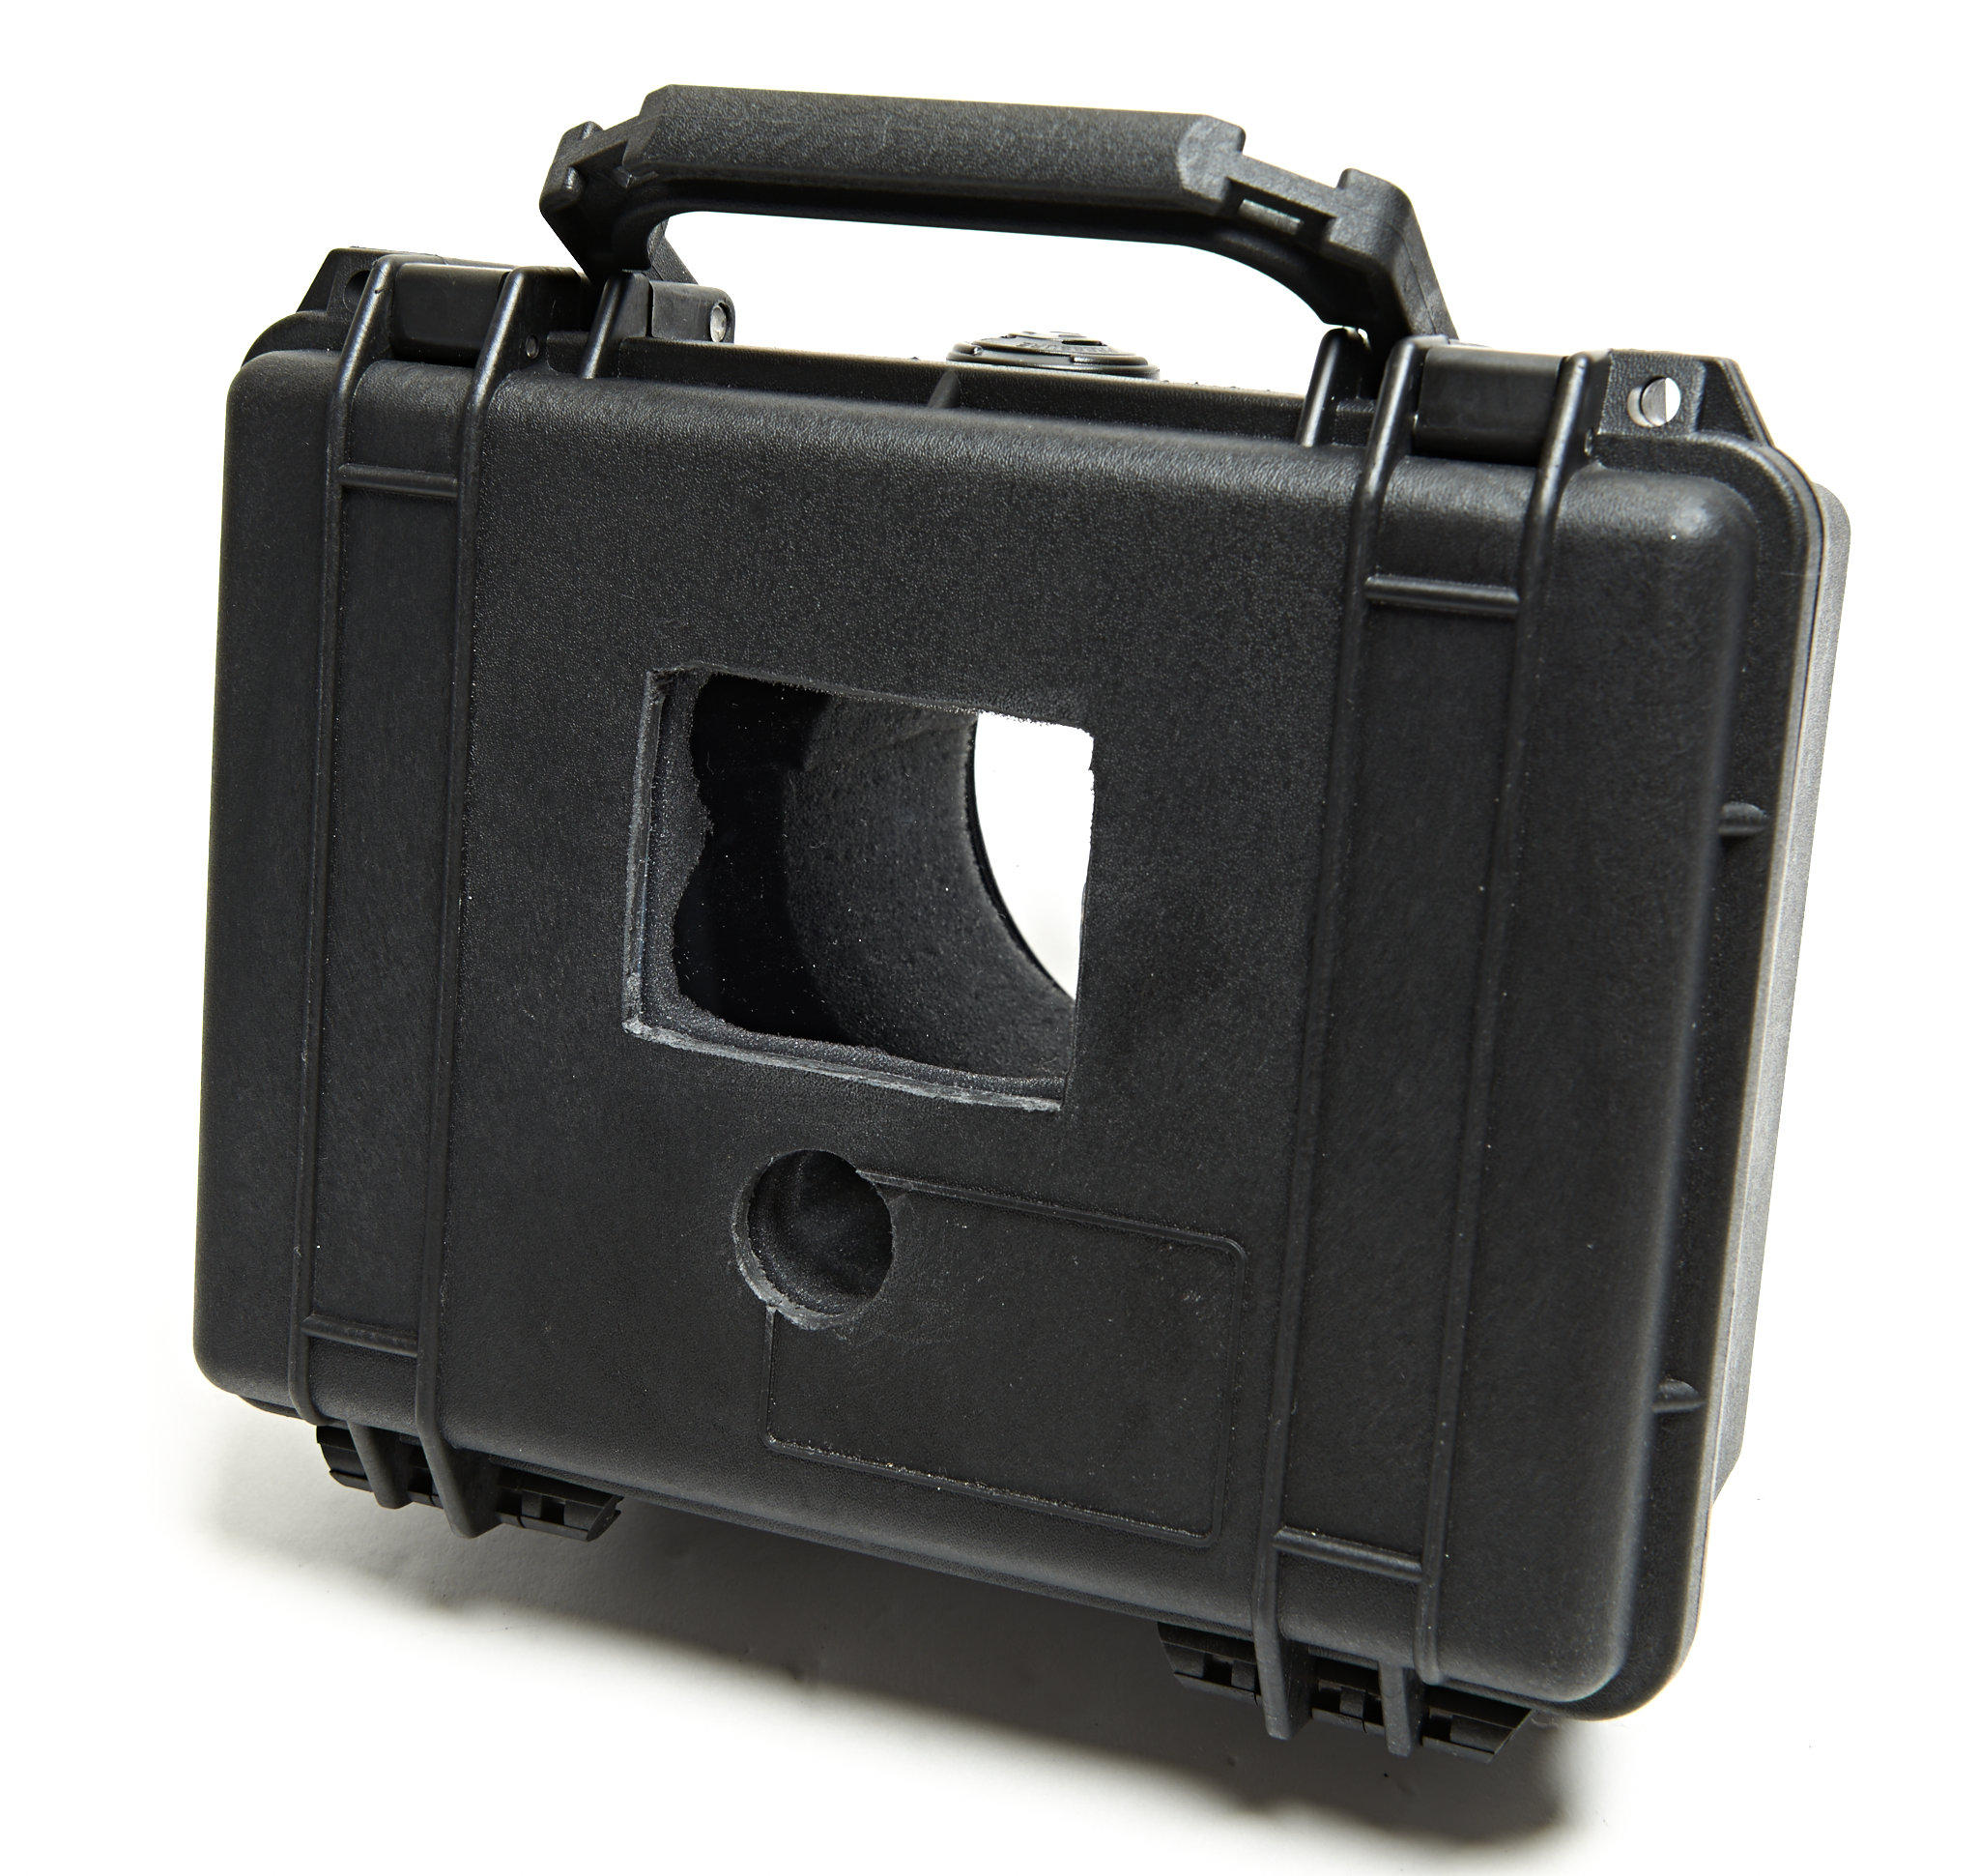
- Cut out and fit the Lexan window; attached with the silicone sealant
-
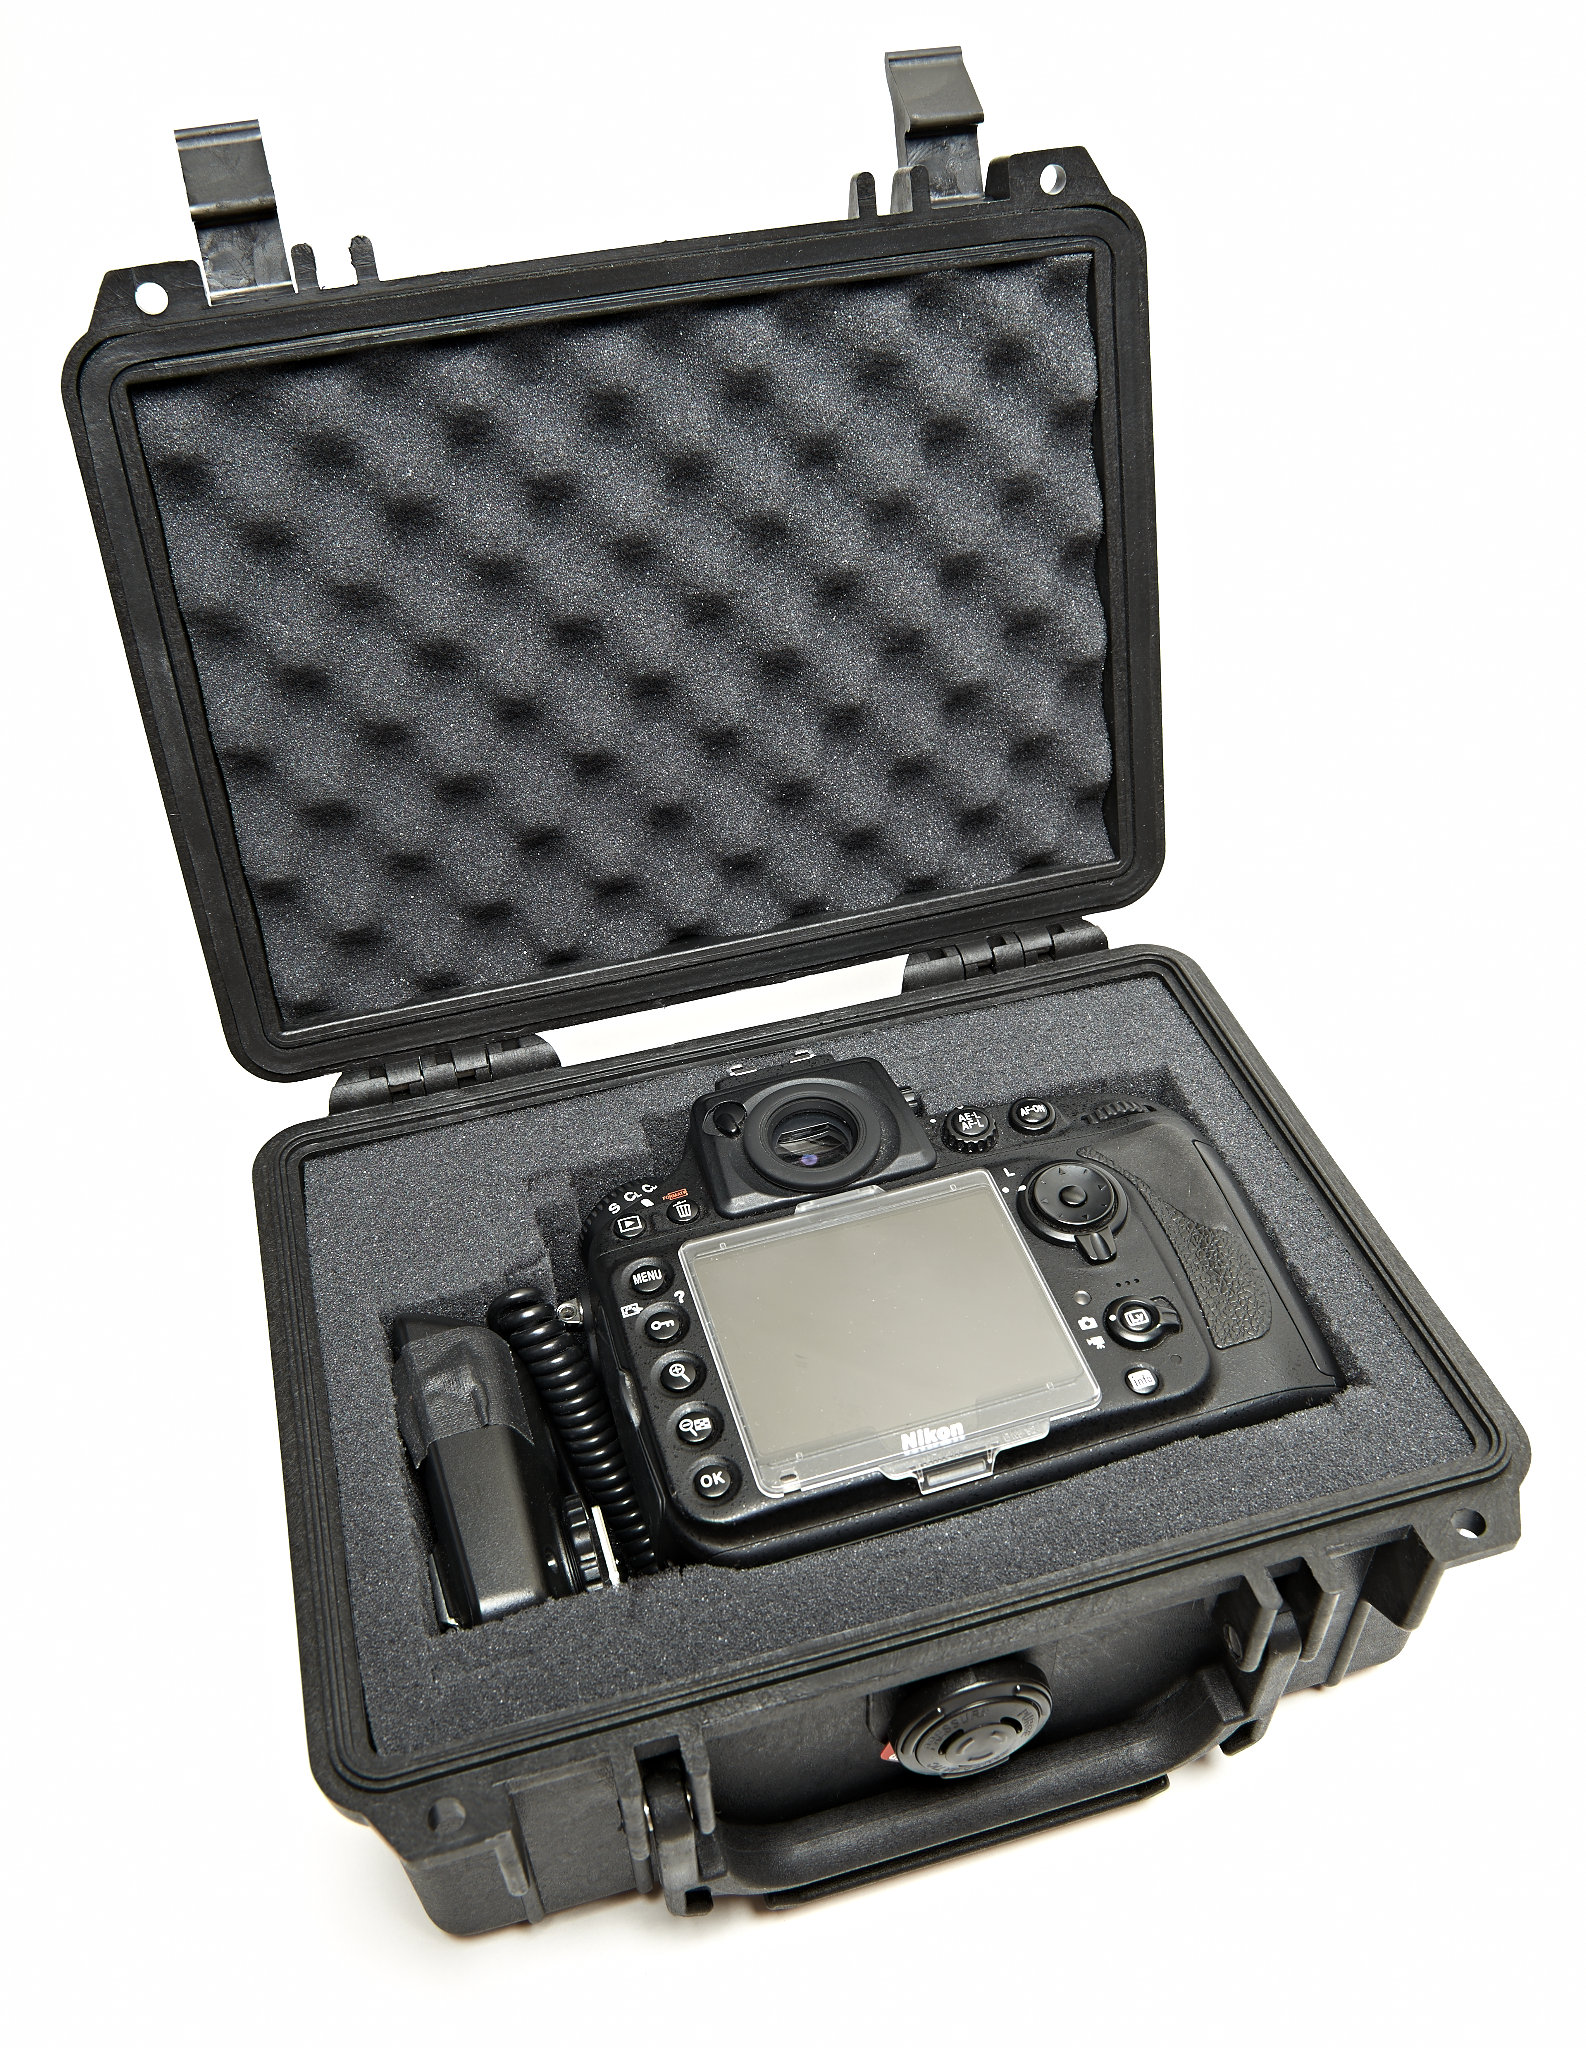
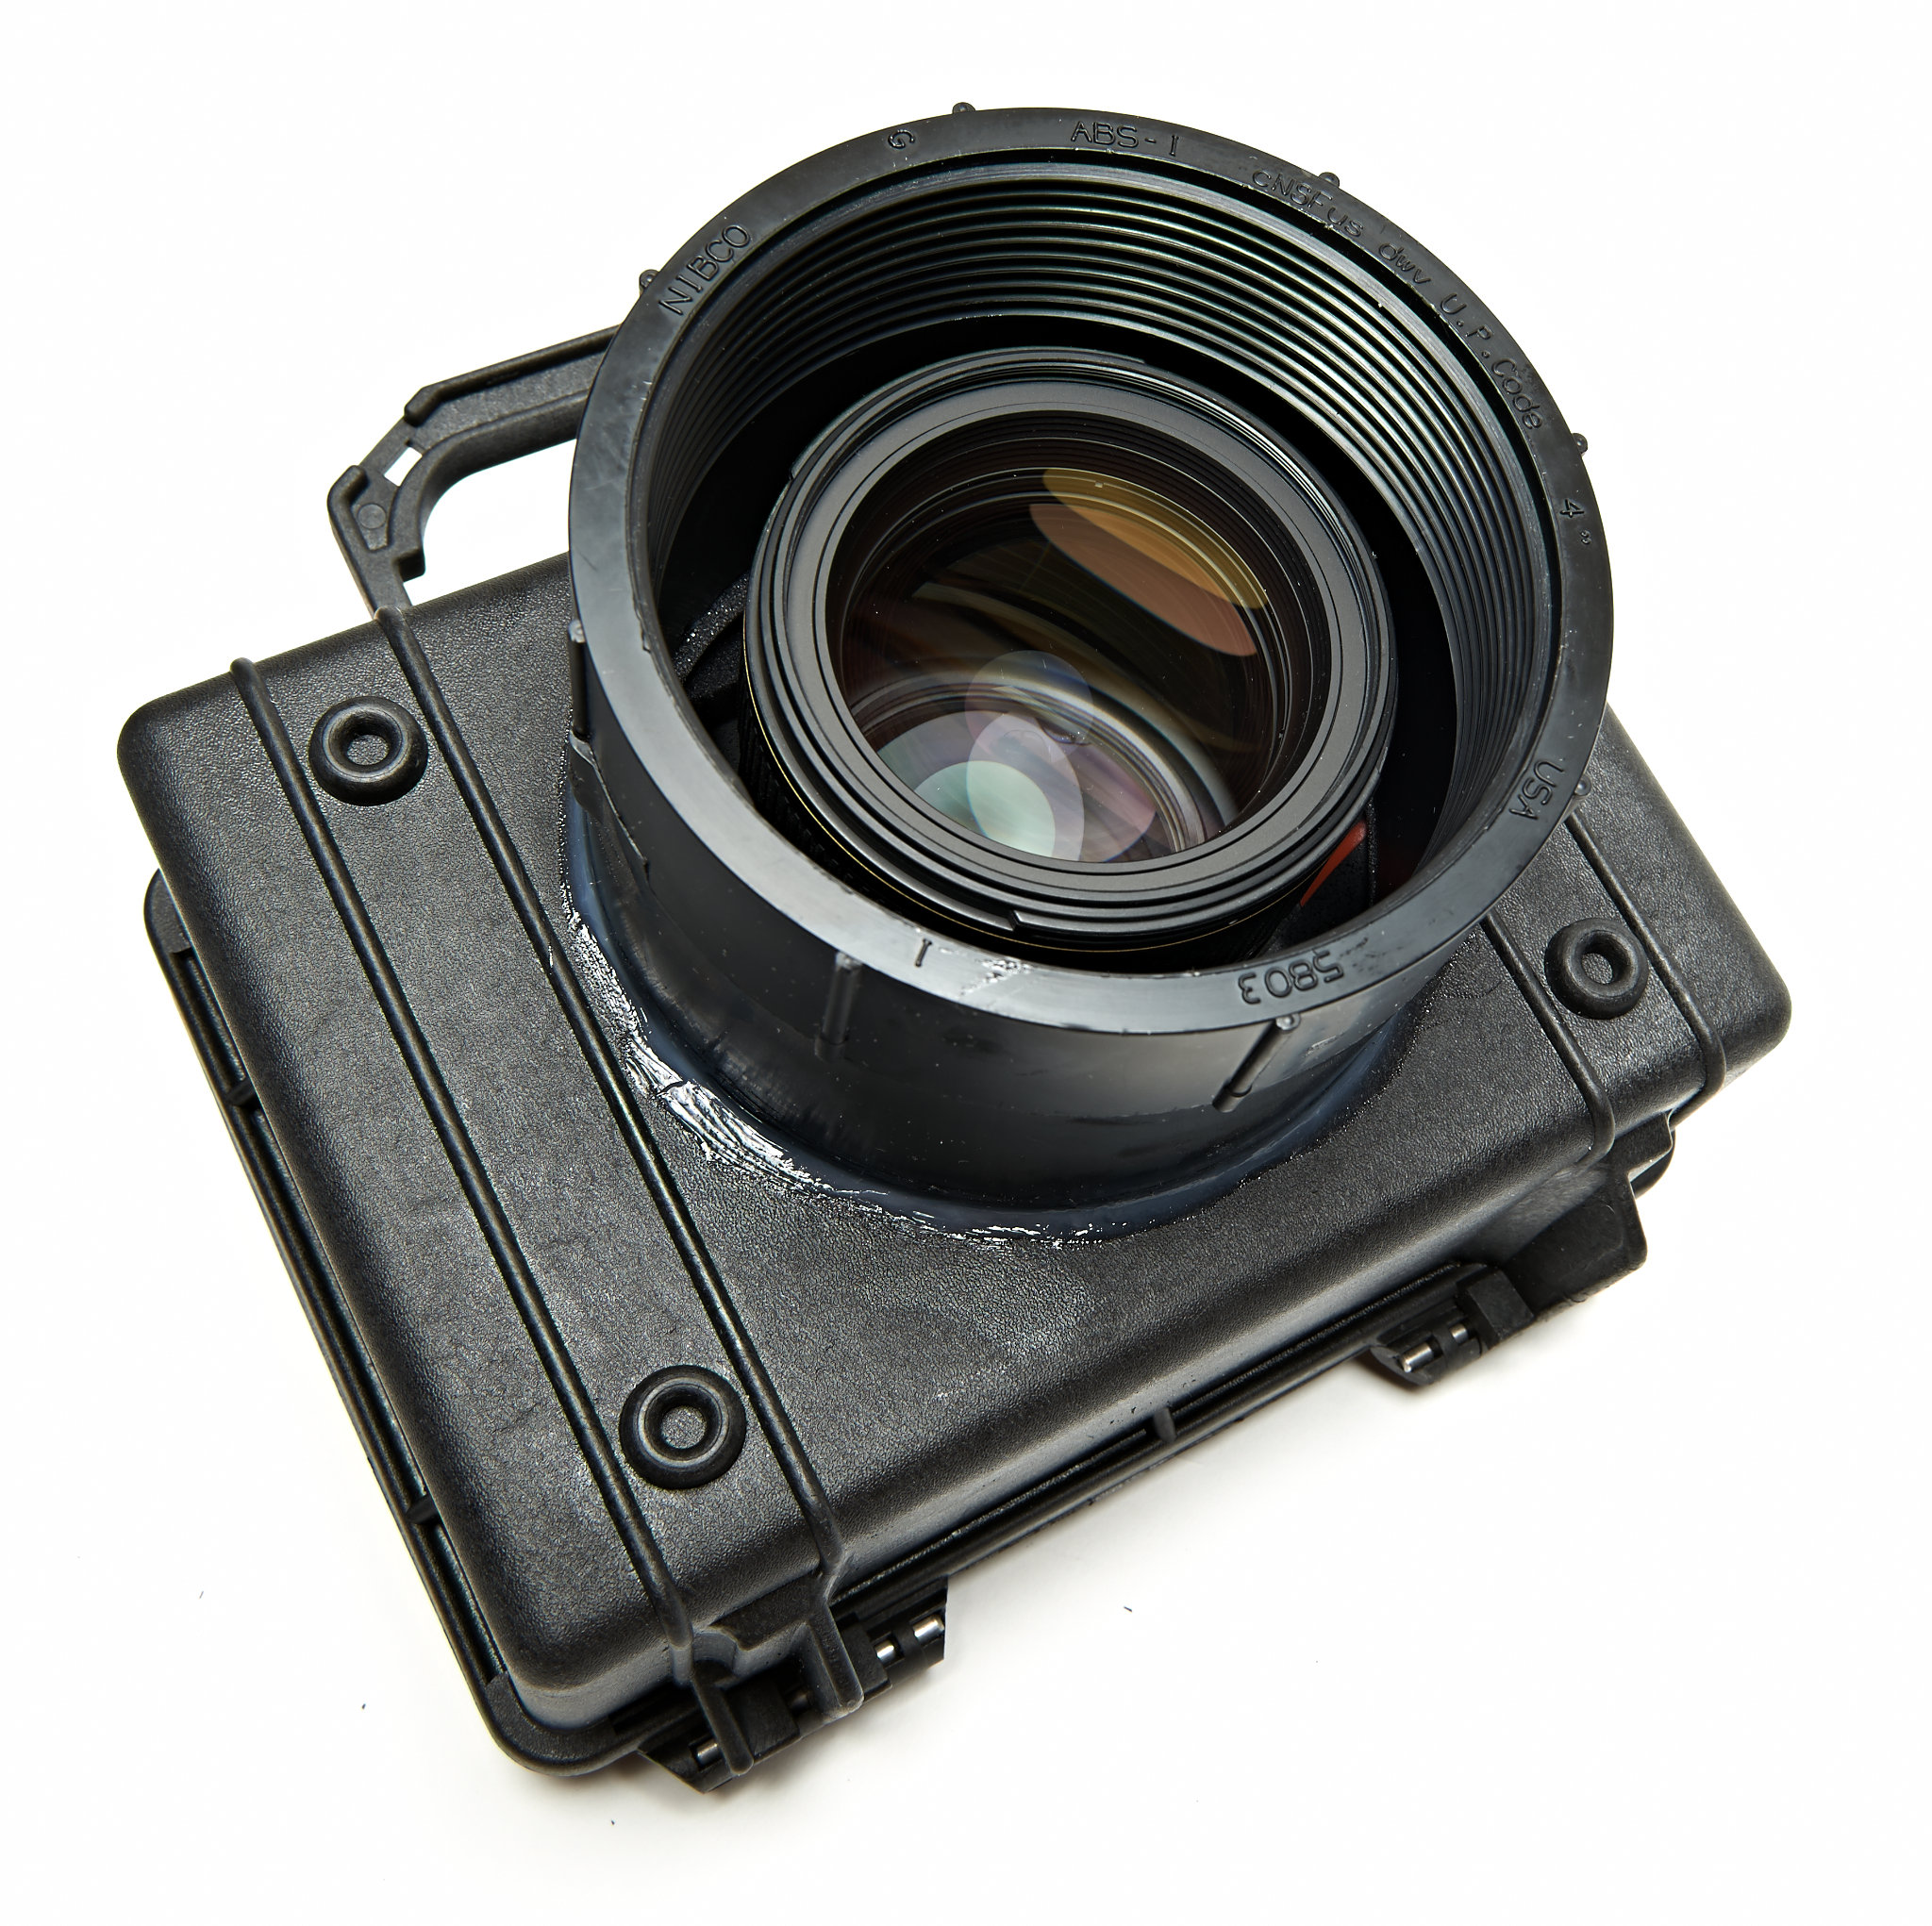
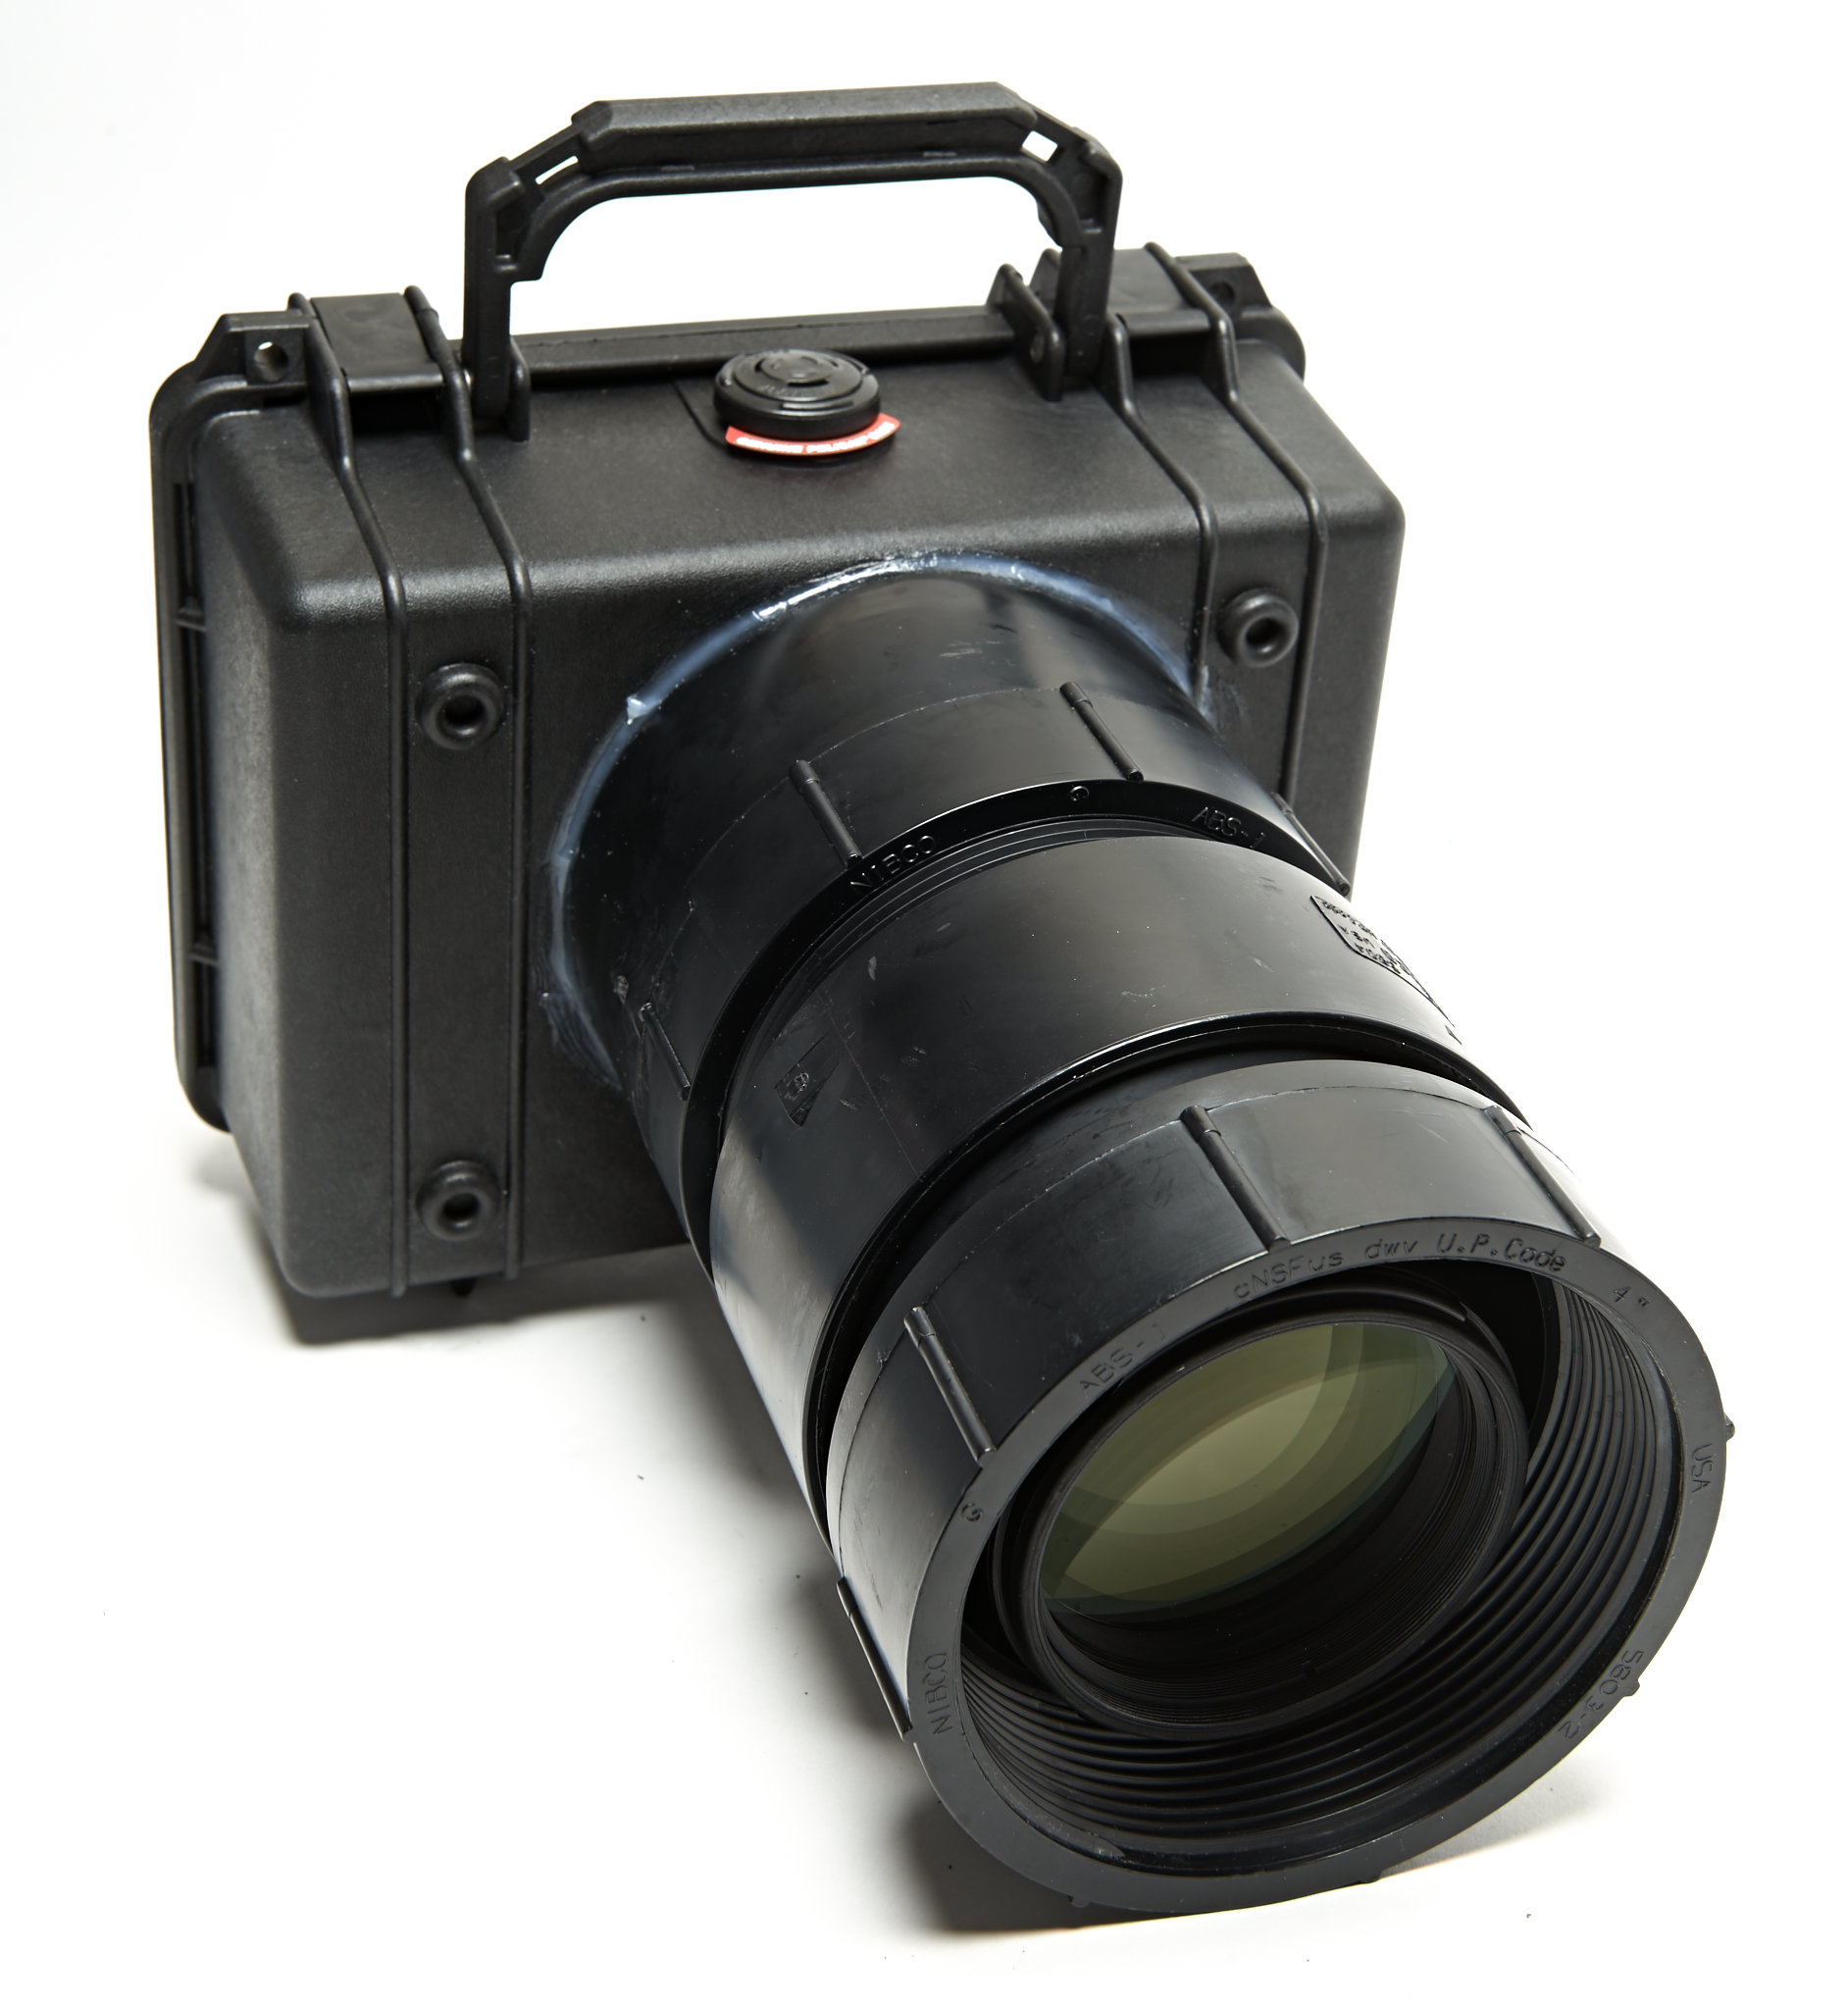
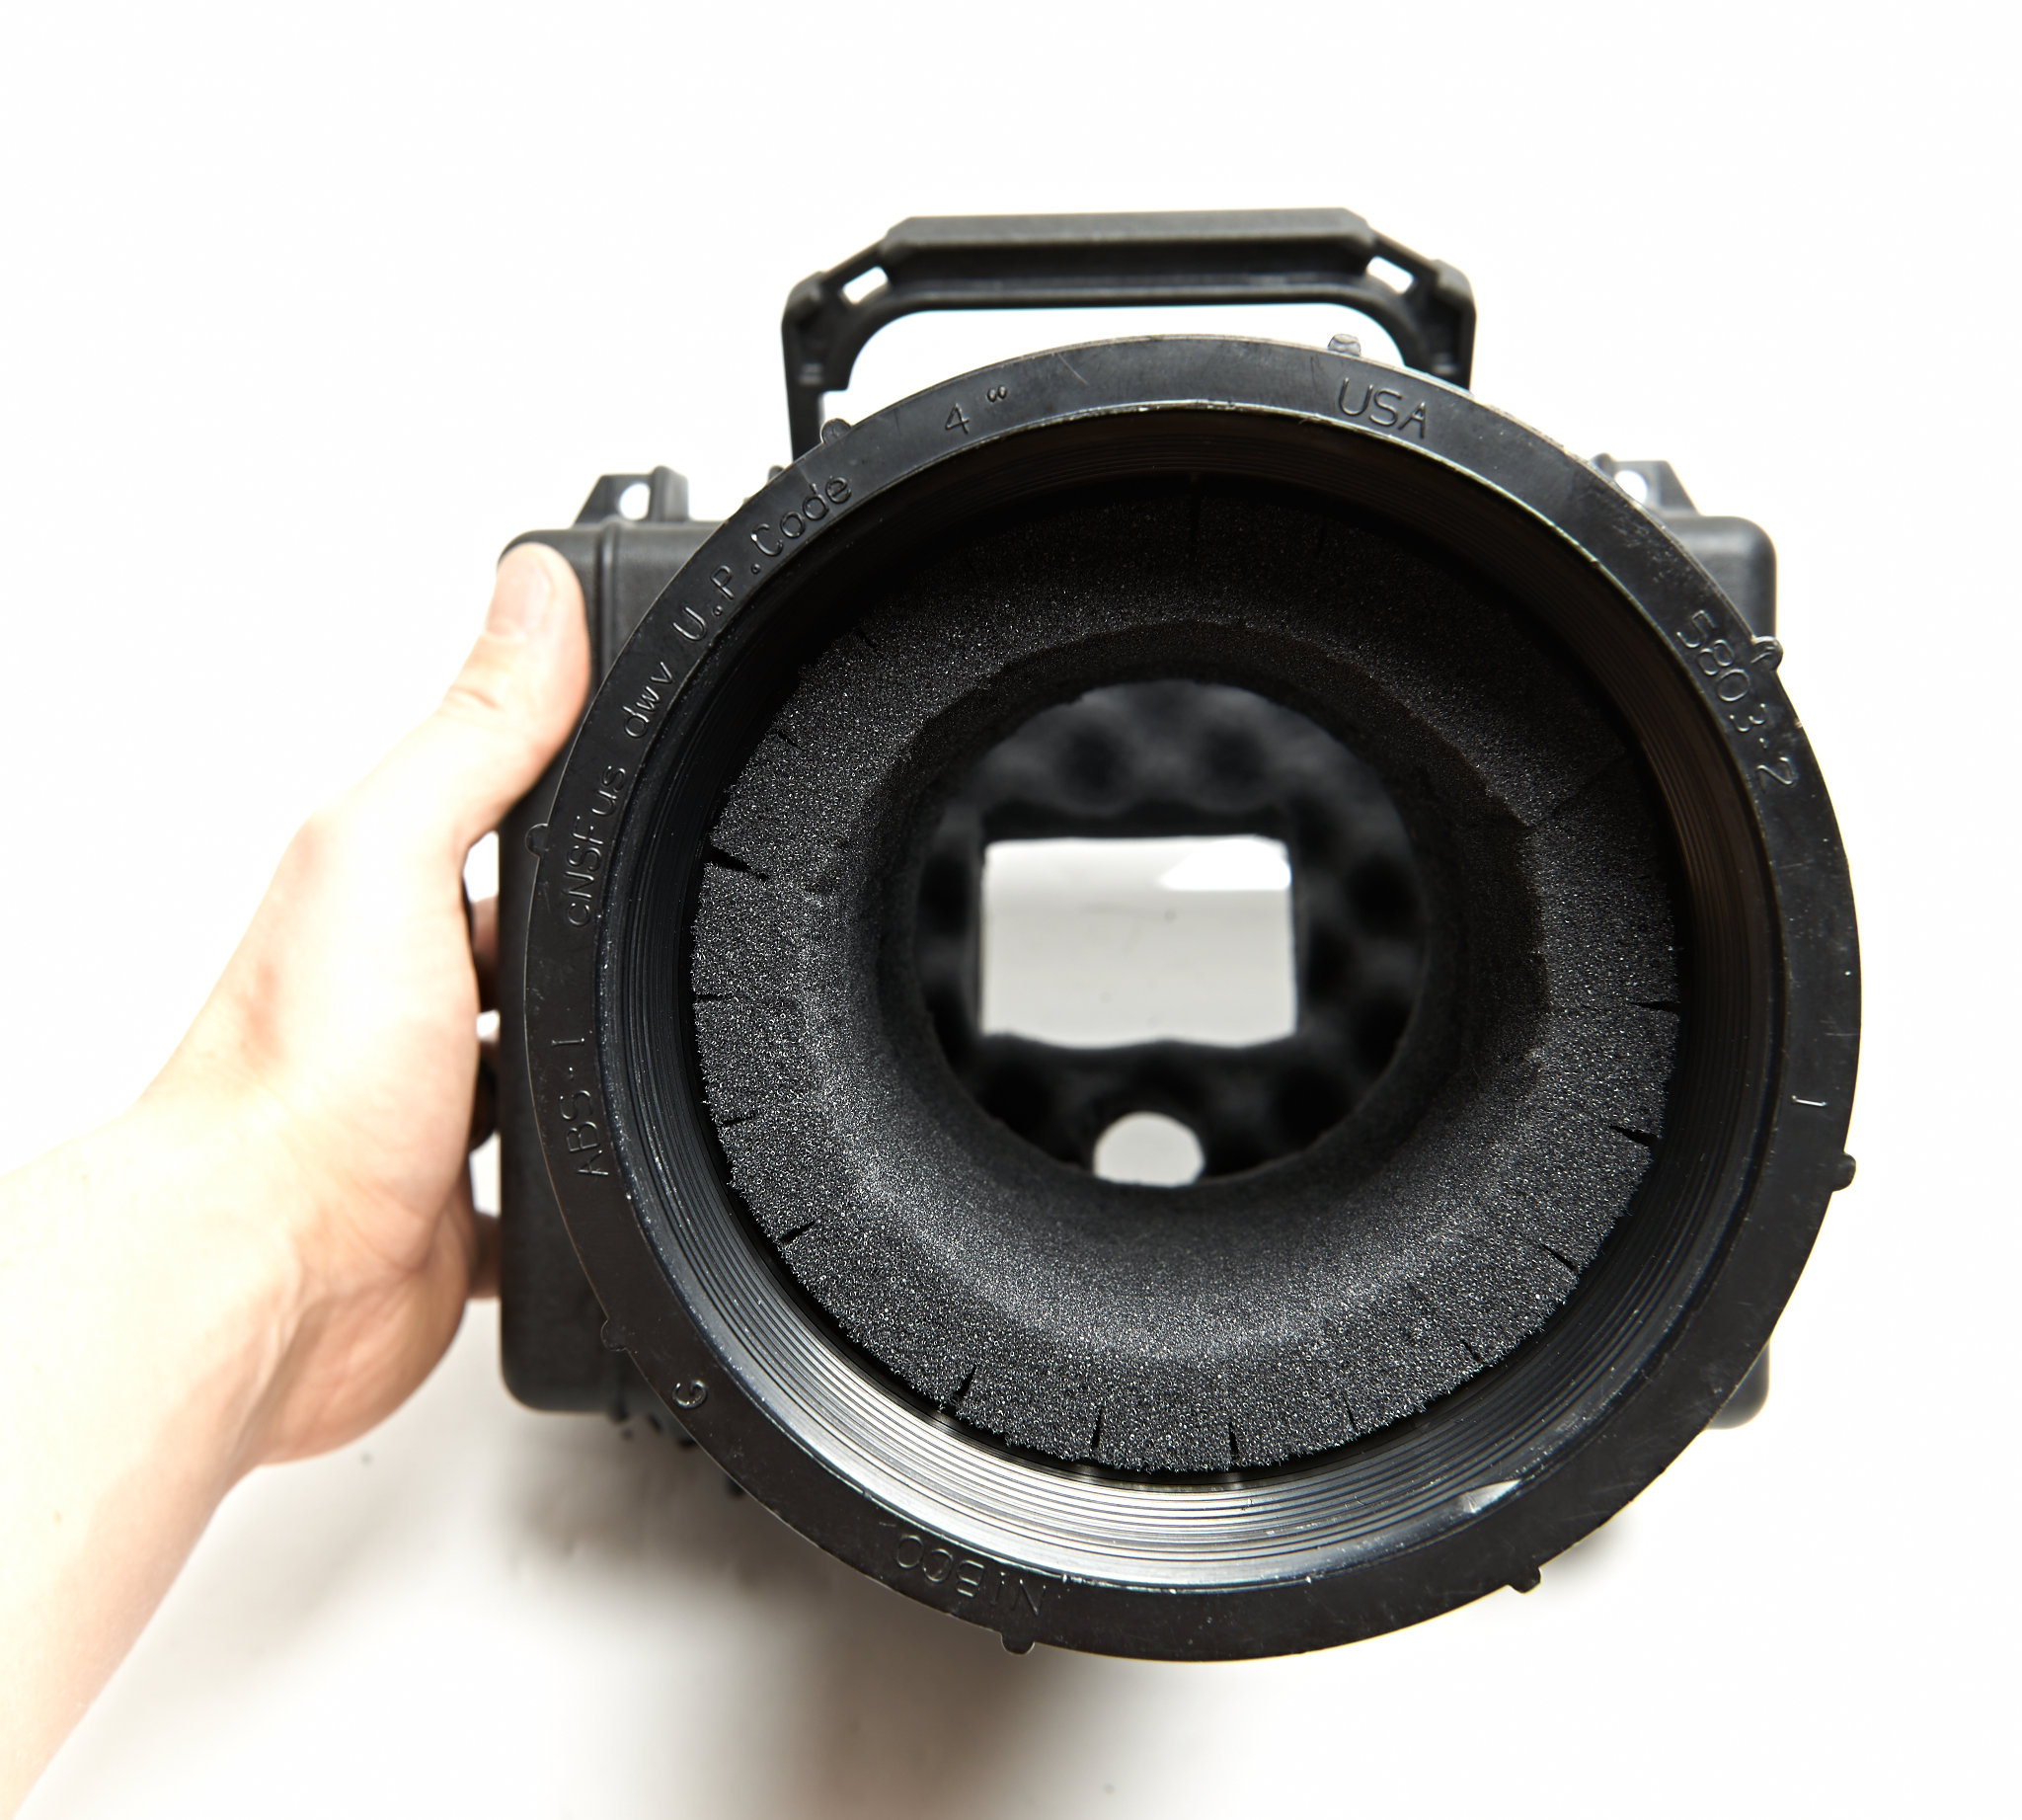
- Camera fitted; the lens is nicely centered in the pipe
-
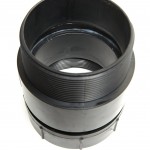
- Added silicone sealant between the PVC pieces that make up the extension tube
-
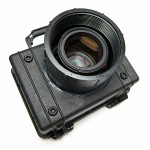
- Test fitting of the extension tube, with 70-200mm telephoto zoom lens
-
- Front view, with lens tube housing foam cradling the lens, preventing any part of the camera from touching the outer plastic hull
-
- Extension tube fitted, with foam. Used the pick-n-plug leftovers for the tubes
-
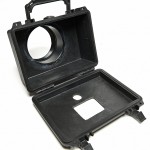
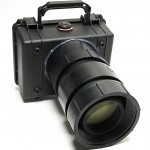
- Almost finished! Just need the front lens glass/Lexan porthole
DIY sound blimp test @ Dan Tabar Photography
[…] the sound blimp I built here. Pardon the audio noise/hiss; I didn’t want to try to low-pass it out since it might mess […]
Build a DIY Sound Blimp to Silence Your Camera for Less Than $100
[…] can find step-by-step instructions with higher-resolution photographs over on Tabár’s blog and on photographer Blair Bunting’s […]
Robert Thirlaway
Nice Project, One question, why the decision to have the camera upside down from the handle. It would seem easier if the position was reversed. I really like the idea. Also for sound deadening they have a product used for quieting the inside of cars I think it’s called dynamat , a layer under the foam may even make it quieter. Nice job on the project
DIY Silencer Quiets Shooting | enerficiency
[…] can find step-by-step instructions with higher-resolution photographs over on Tabár’s blog and on photographer Blair Bunting’s […]
Stephan
… Wenn der Auslöser der Nikon oder Canon zu laut ist – eine Bauanleitung für ein Gehäuse zur Geräuschreduzierung…
Kameracase zur Geräuschreduktion/ Bauanleitung auf Fotoassistent.de
Wer also plant im Theater, bei Ton oder Filmaufnahmen am Set oder Wildtiere in der freien Natur zu fotografieren, eine günstigere und effektivere Geräuschreduzierung wird man kaum hinbekommen
Underwater test of the DIY Sound Blimp – Dan Tabar Photography
[…] more about how this thing was built here, here, and […]
bigstu
Considered a high quality mirrorless camera with wi-fi? You will have full control over camera functions, it will be smaller (save a couple of bucks on the case).
It wont have mirror slap. You will be able to access images without opening the case and there are hq zeiss lenses that will deliver (almost) D800 results. To level the playing field, the smaller front element will allow you to use a UV filter for a larger lens for the front (and rear) window delivering superior results.
Dan
That’s certainly one way to go, but I already invested in my full frame kit, so I could either buy a whole new mirrorless system and glass… or spend a day and $80 building this blimp 🙂 Also, to my knowledge, the general speed/responsiveness of full blown DSLR is still not matched by mirrorless/EVF systems. Fast focus and minimal shutter lag are crucial for capturing events
DIY Sound Blimp/Underwater Housing | Unique Photo Blog
[…] trust my own craftsmanship, but if you’re up for the challenge check out Dan Tabár’s blog for step-by-step […]